- Auxiliary light / Led bar installation guide
- Auxiliary light installation on CANbus cars / Electric cars
- Does my car have CAN bus – and do I need a CAN bus decoder?
- XBB Dongle + Powerunit - complete installation guide
- Auxiliary light / Led bar selection guide
- Different ways of getting signal for auxiliary lights
- Led strip installation guide
- Led strip dimming and controlling
- Led strip selection guide
- Saving electricity in home lighting
- Caring instructions for flashlights and headlamps
- Guide how to store flashlights and headlamps
- Construction site lighting
- Work machine lighting guide
- Bicycle lighting
Auxiliary light installation on CANbus cars / Electric cars
Wondering how to install auxiliary lights on a vehicle with a CAN bus system? This guide has the answers!
Installing auxiliary driving lights on a modern car or electric vehicle with a digital CAN bus system controlling the lighting may seem difficult, but it is now easier than ever. Whether you are a beginner or simply need a refresher, we have put together a step-by-step installation guide showing how to install auxiliary driving lights on modern vehicles so that they switch on and off together with the high beams.
Follow the five steps below to complete the installation.
- Installing the auxiliary light bracket
- Installing the auxiliary driving lights
- Connecting the relay wiring harness, XBB Dongle & PowerUnit and other wiring
- Testing and tidying the wiring
- Aiming the auxiliary driving lights
Browse auxiliary driving lights, LED light bars and accessories below!
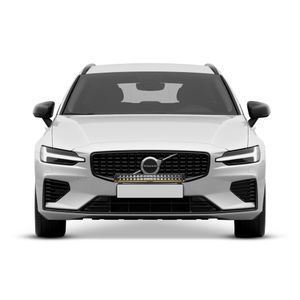
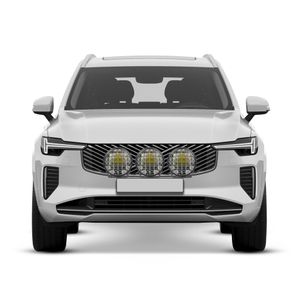
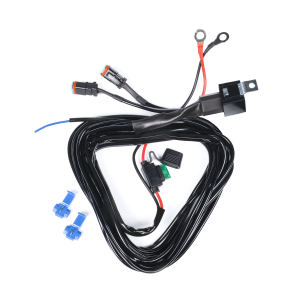
Required accessories and tools
At Valostore, we offer complete kits for almost every auxiliary driving light. These kits usually include the light(s), a mounting bracket, stabilizing braces and a relay wiring harness. Some kits also include the XBB Dongle & PowerUnit, along with a compatible relay wiring harness. Of course, you can also purchase the lights separately if you already have suitable accessories.
Auxiliary lights / installation accessories:
- One or more auxiliary driving lights
- Relay wiring harness
- CAN bus decoder, preferably XBB Dongle & PowerUnit
- Auxiliary light bracket
- Stabilizing braces (required for heavy or larger auxiliary lights)
Tools/accessories:
- Cordless drill/driver or screwdriver (for removing and reinstalling the license plate and mounting bracket)
- Wire cutters (for cutting wires and cable ties)
- Adjustable wrench or ring spanner (for loosening and tightening bolts, etc.)
- Cable ties (for bundling and tidying up cables)
- Fasteners (for securing the auxiliary light bracket). Self-drilling screws can be used, but we primarily recommend pop rivets, rivet nuts or bolts and nuts for a stronger, more secure installation.
- Additional wire (for connecting position lights, flashing lights or other auxiliary light functions)
- Wire splice connectors (for connecting position light, flashing light or other function wires)
- Heat-shrink tubing (for weatherproofing and protecting the connection described above)
Before installing auxiliary driving lights
1. Choose the right auxiliary driving lights for your needs:
We are often asked, "Which auxiliary driving lights fit my car?" Most of the auxiliary lights we sell are universal and fit most vehicle models, whether you drive a Volvo, BMW or Toyota. Your choice mainly depends on your preferences, the mounting location, the size of the lights and any restrictions caused by sensors or cameras.
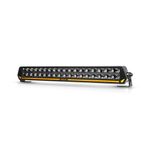 Choosing auxiliary driving lights
2. Check XBB Dongle compatibility with your car
If you plan to use the XBB Dongle & PowerUnit for your installation, it is important to check that the Dongle is compatible with your car first. Follow these steps:
- Download the XBB app from the App Store (iOS) or Google Play (Android) and create an account.
- Plug the Dongle into the vehicle's OBD port (diagnostic socket) and switch on the ignition.
- Download the recipe (software configuration) for your vehicle model.
- Test the different signals, such as the high-beam and ignition signals.
- When you switch on the high beams, the high-beam signal should activate in the app if everything is working correctly.
If the signals work as expected, you can continue! If not, try other recipes for the same or a similar make and model year.
1. Installing the auxiliary light bracket
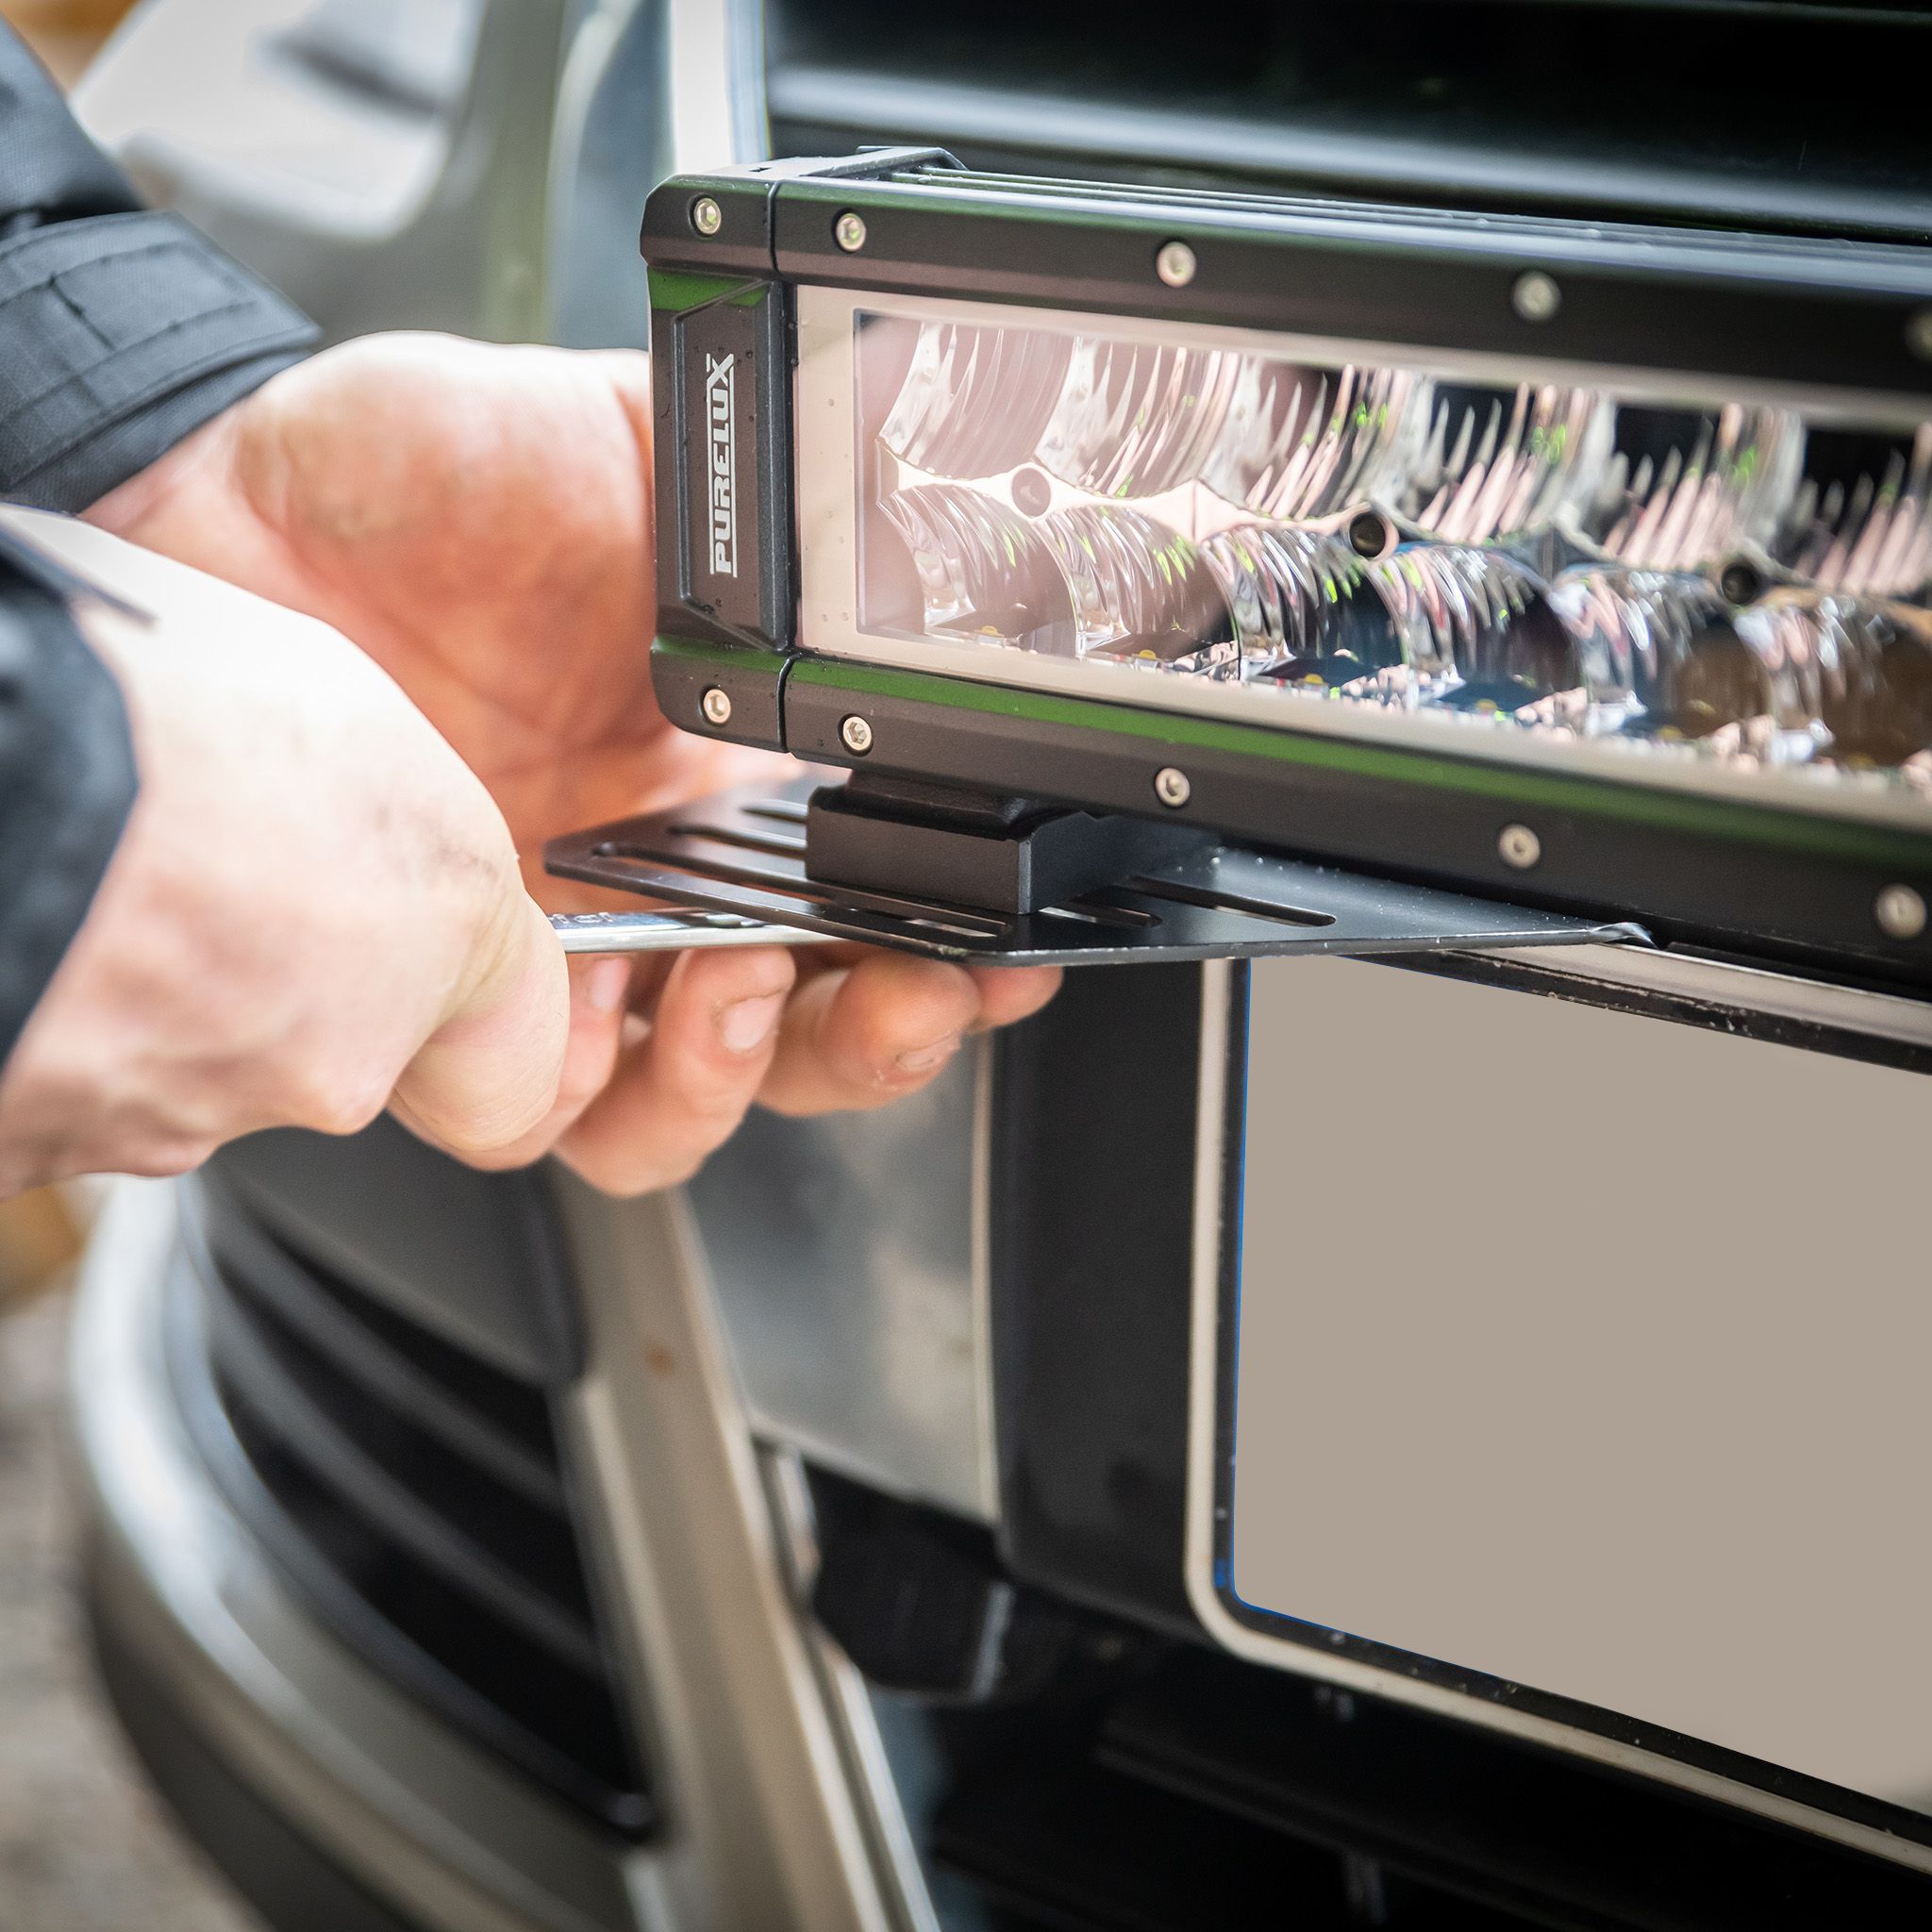
Start by removing the license plate trim and the license plate. If there is a license plate holder, unscrew it as well, then clean the painted surface behind it.
Using self-drilling mounting screws: Position the auxiliary light bracket where the license plate was installed. Screw the bracket into place and make sure it is straight. This method is not recommended for heavier installations.
Using pop rivets (recommended): Place the auxiliary light bracket in the license plate position. Mark where the rivet holes need to be drilled, remove the bracket and drill the holes. Reposition the bracket and install the pop rivets. Advantage: secure attachment with access from only one side.
Using rivet nuts (recommended): Place the auxiliary light bracket in the license plate position. Mark the locations for the rivet nut holes, remove the bracket and drill the holes. Install the rivet nuts, reposition the bracket and screw it into the rivet nuts. Advantages: secure attachment with access from only one side, plus the bracket can be removed or replaced later.
Using bolts and nuts (recommended): Position the auxiliary light bracket where the license plate was installed. Mark the bolt hole locations, remove the bracket and drill the holes. Reposition the bracket and fasten it using the bolts and nuts. Advantage: strong attachment. However, access is required from both sides, which may be difficult or impossible in some vehicles.
Note! It is important to secure the auxiliary light bracket firmly to minimize bouncing and vibration while driving. In many cases, you should also use stabilizing braces. For heavier installations, the bracket should be anchored to the vehicle's crash bar.
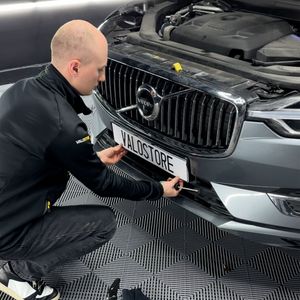
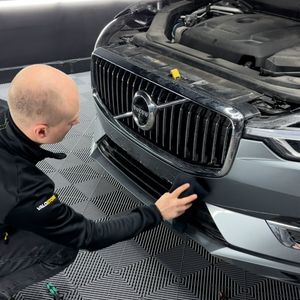
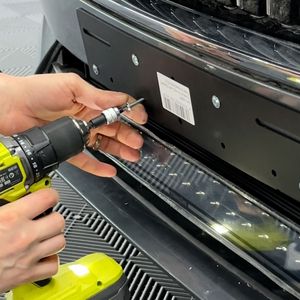
2. Installing the auxiliary driving lights
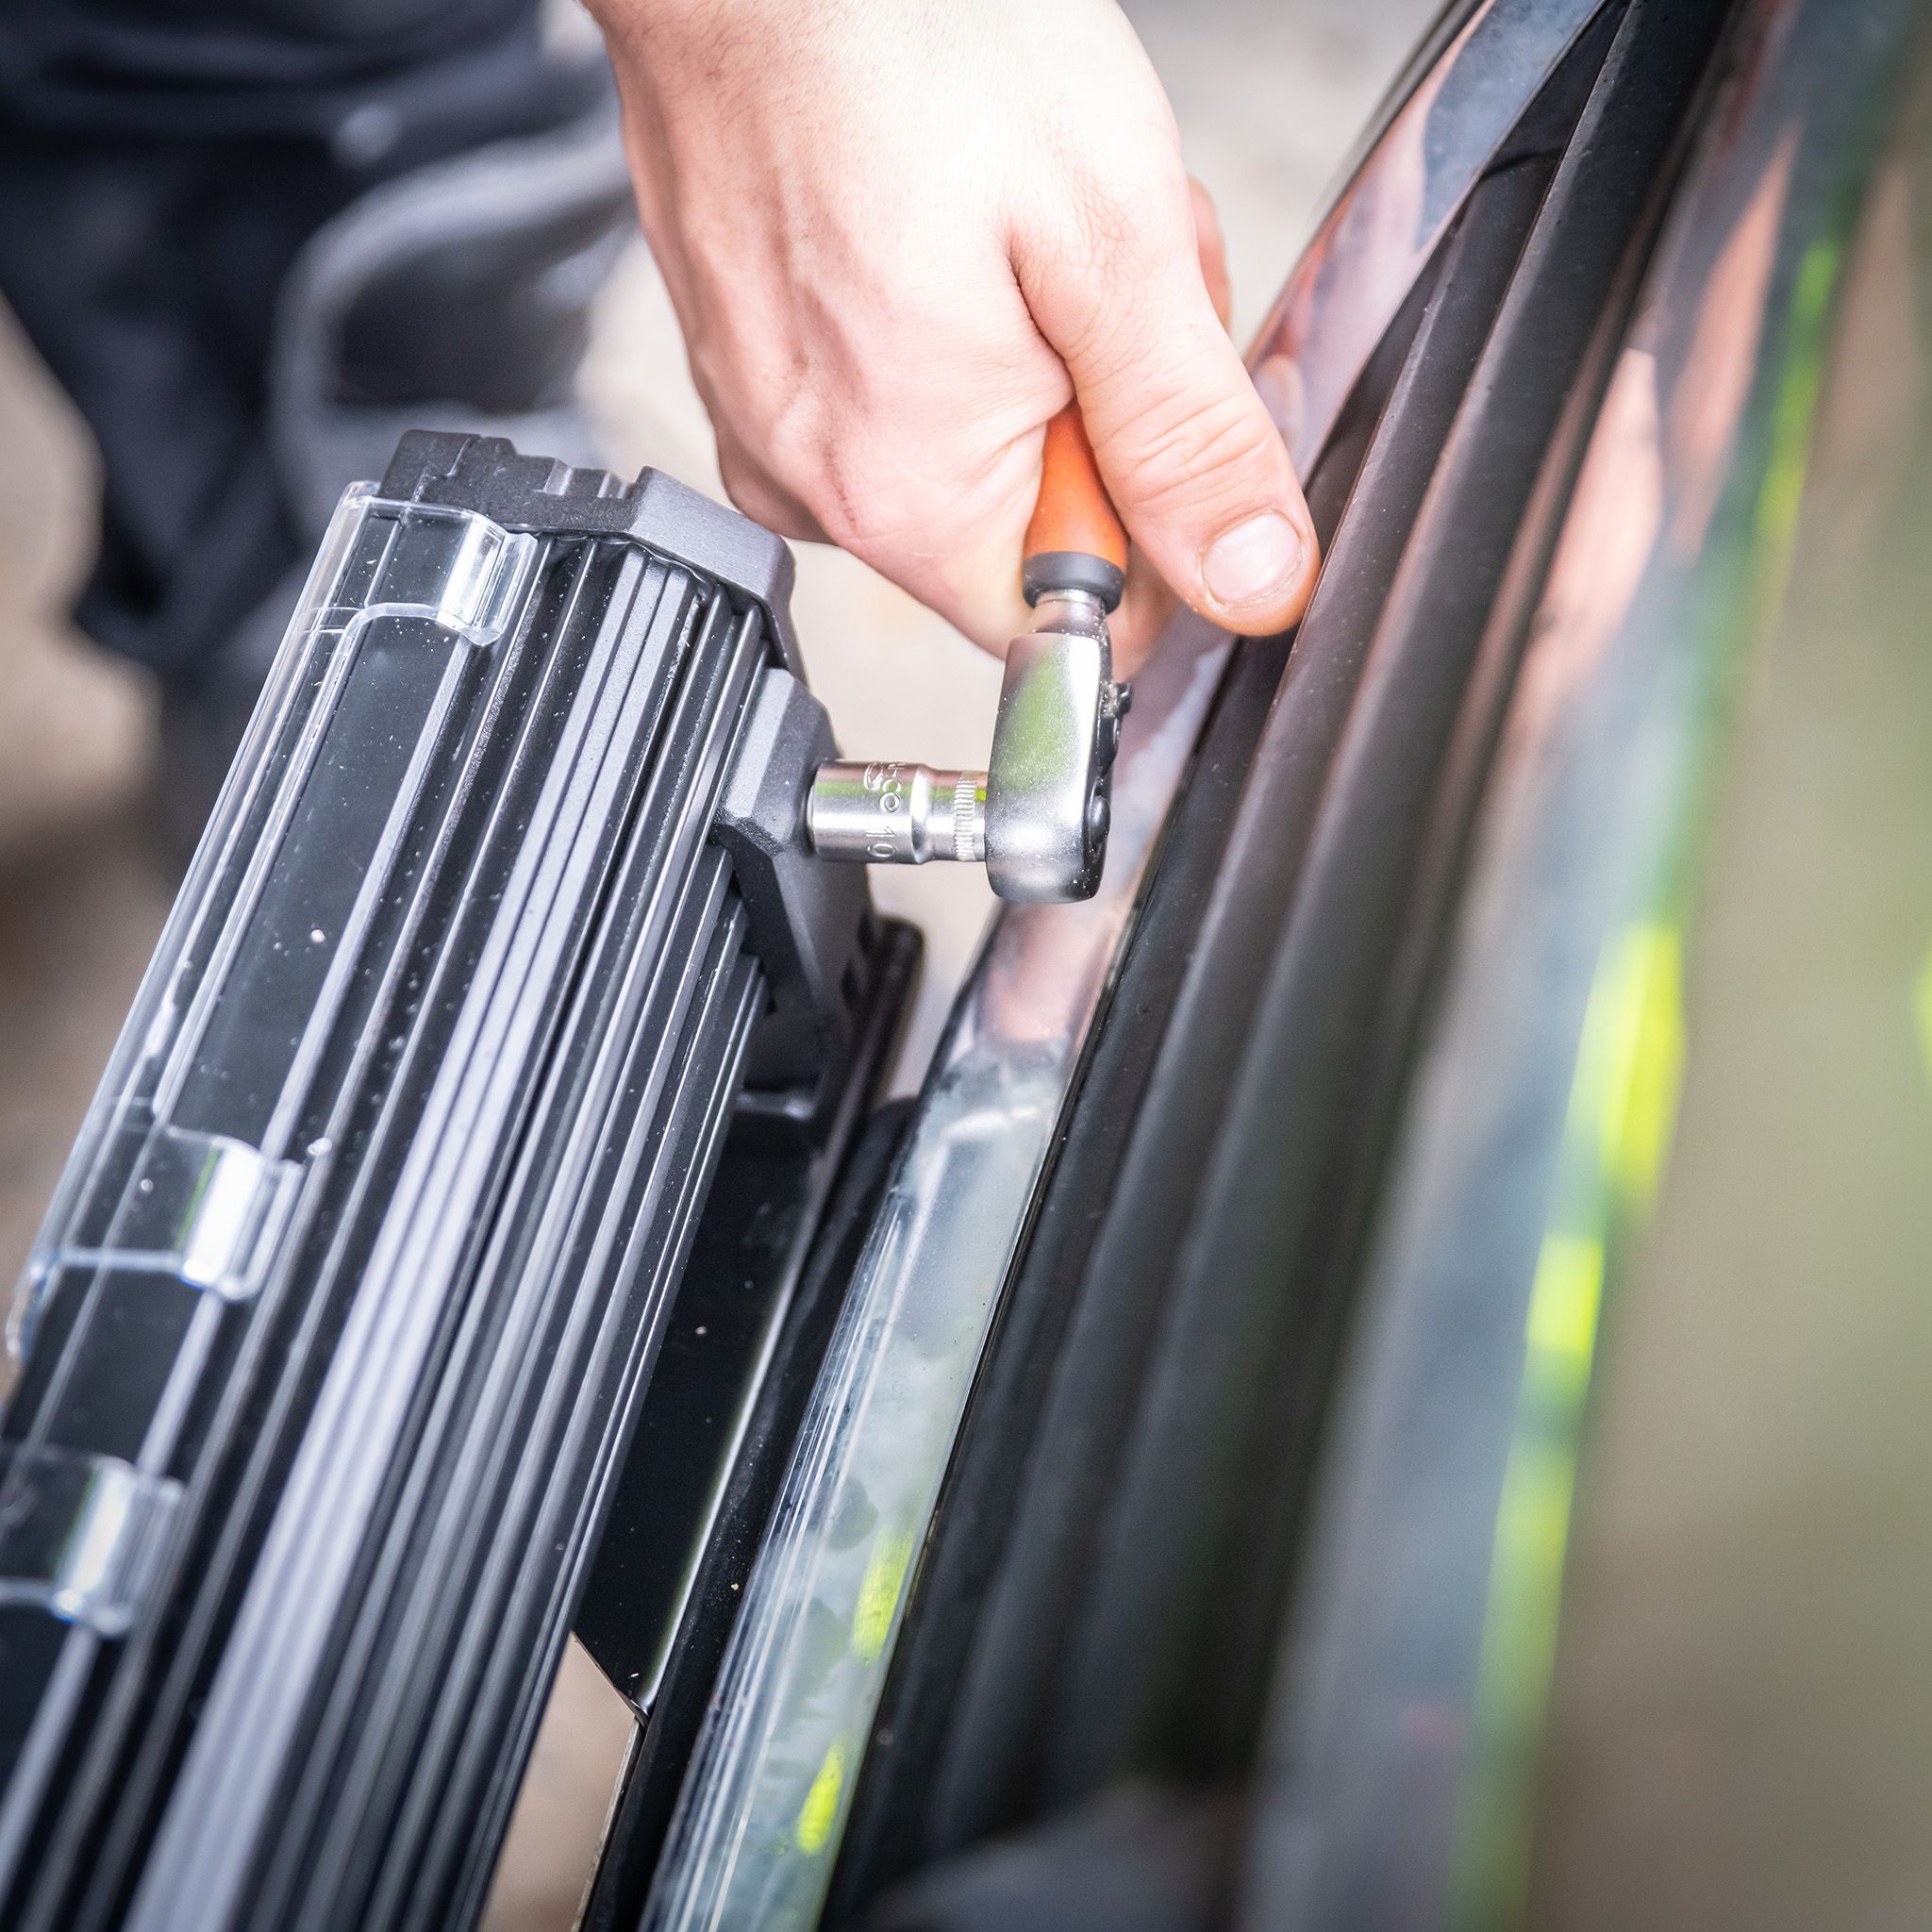
Place the auxiliary driving lights on the mounting bracket and secure them with the supplied fasteners. Do not fully tighten the bolts yet, as you will need to adjust the lights later to achieve the optimal beam pattern.
If stabilizing braces are required, fit them at this stage. Auxiliary driving lights usually have a dedicated mounting point for a brace. Attach one end of the brace to the light and secure the other end to the vehicle's bumper or another suitable location with a small screw.
Find a suitable route for the light cables into the engine compartment and from there to the battery or another suitable power source. This is relatively easy on most vehicles, although space may be more limited on some models.
Finally, reinstall the license plate. The easiest way is usually to attach the license plate holder directly to the auxiliary light bracket.
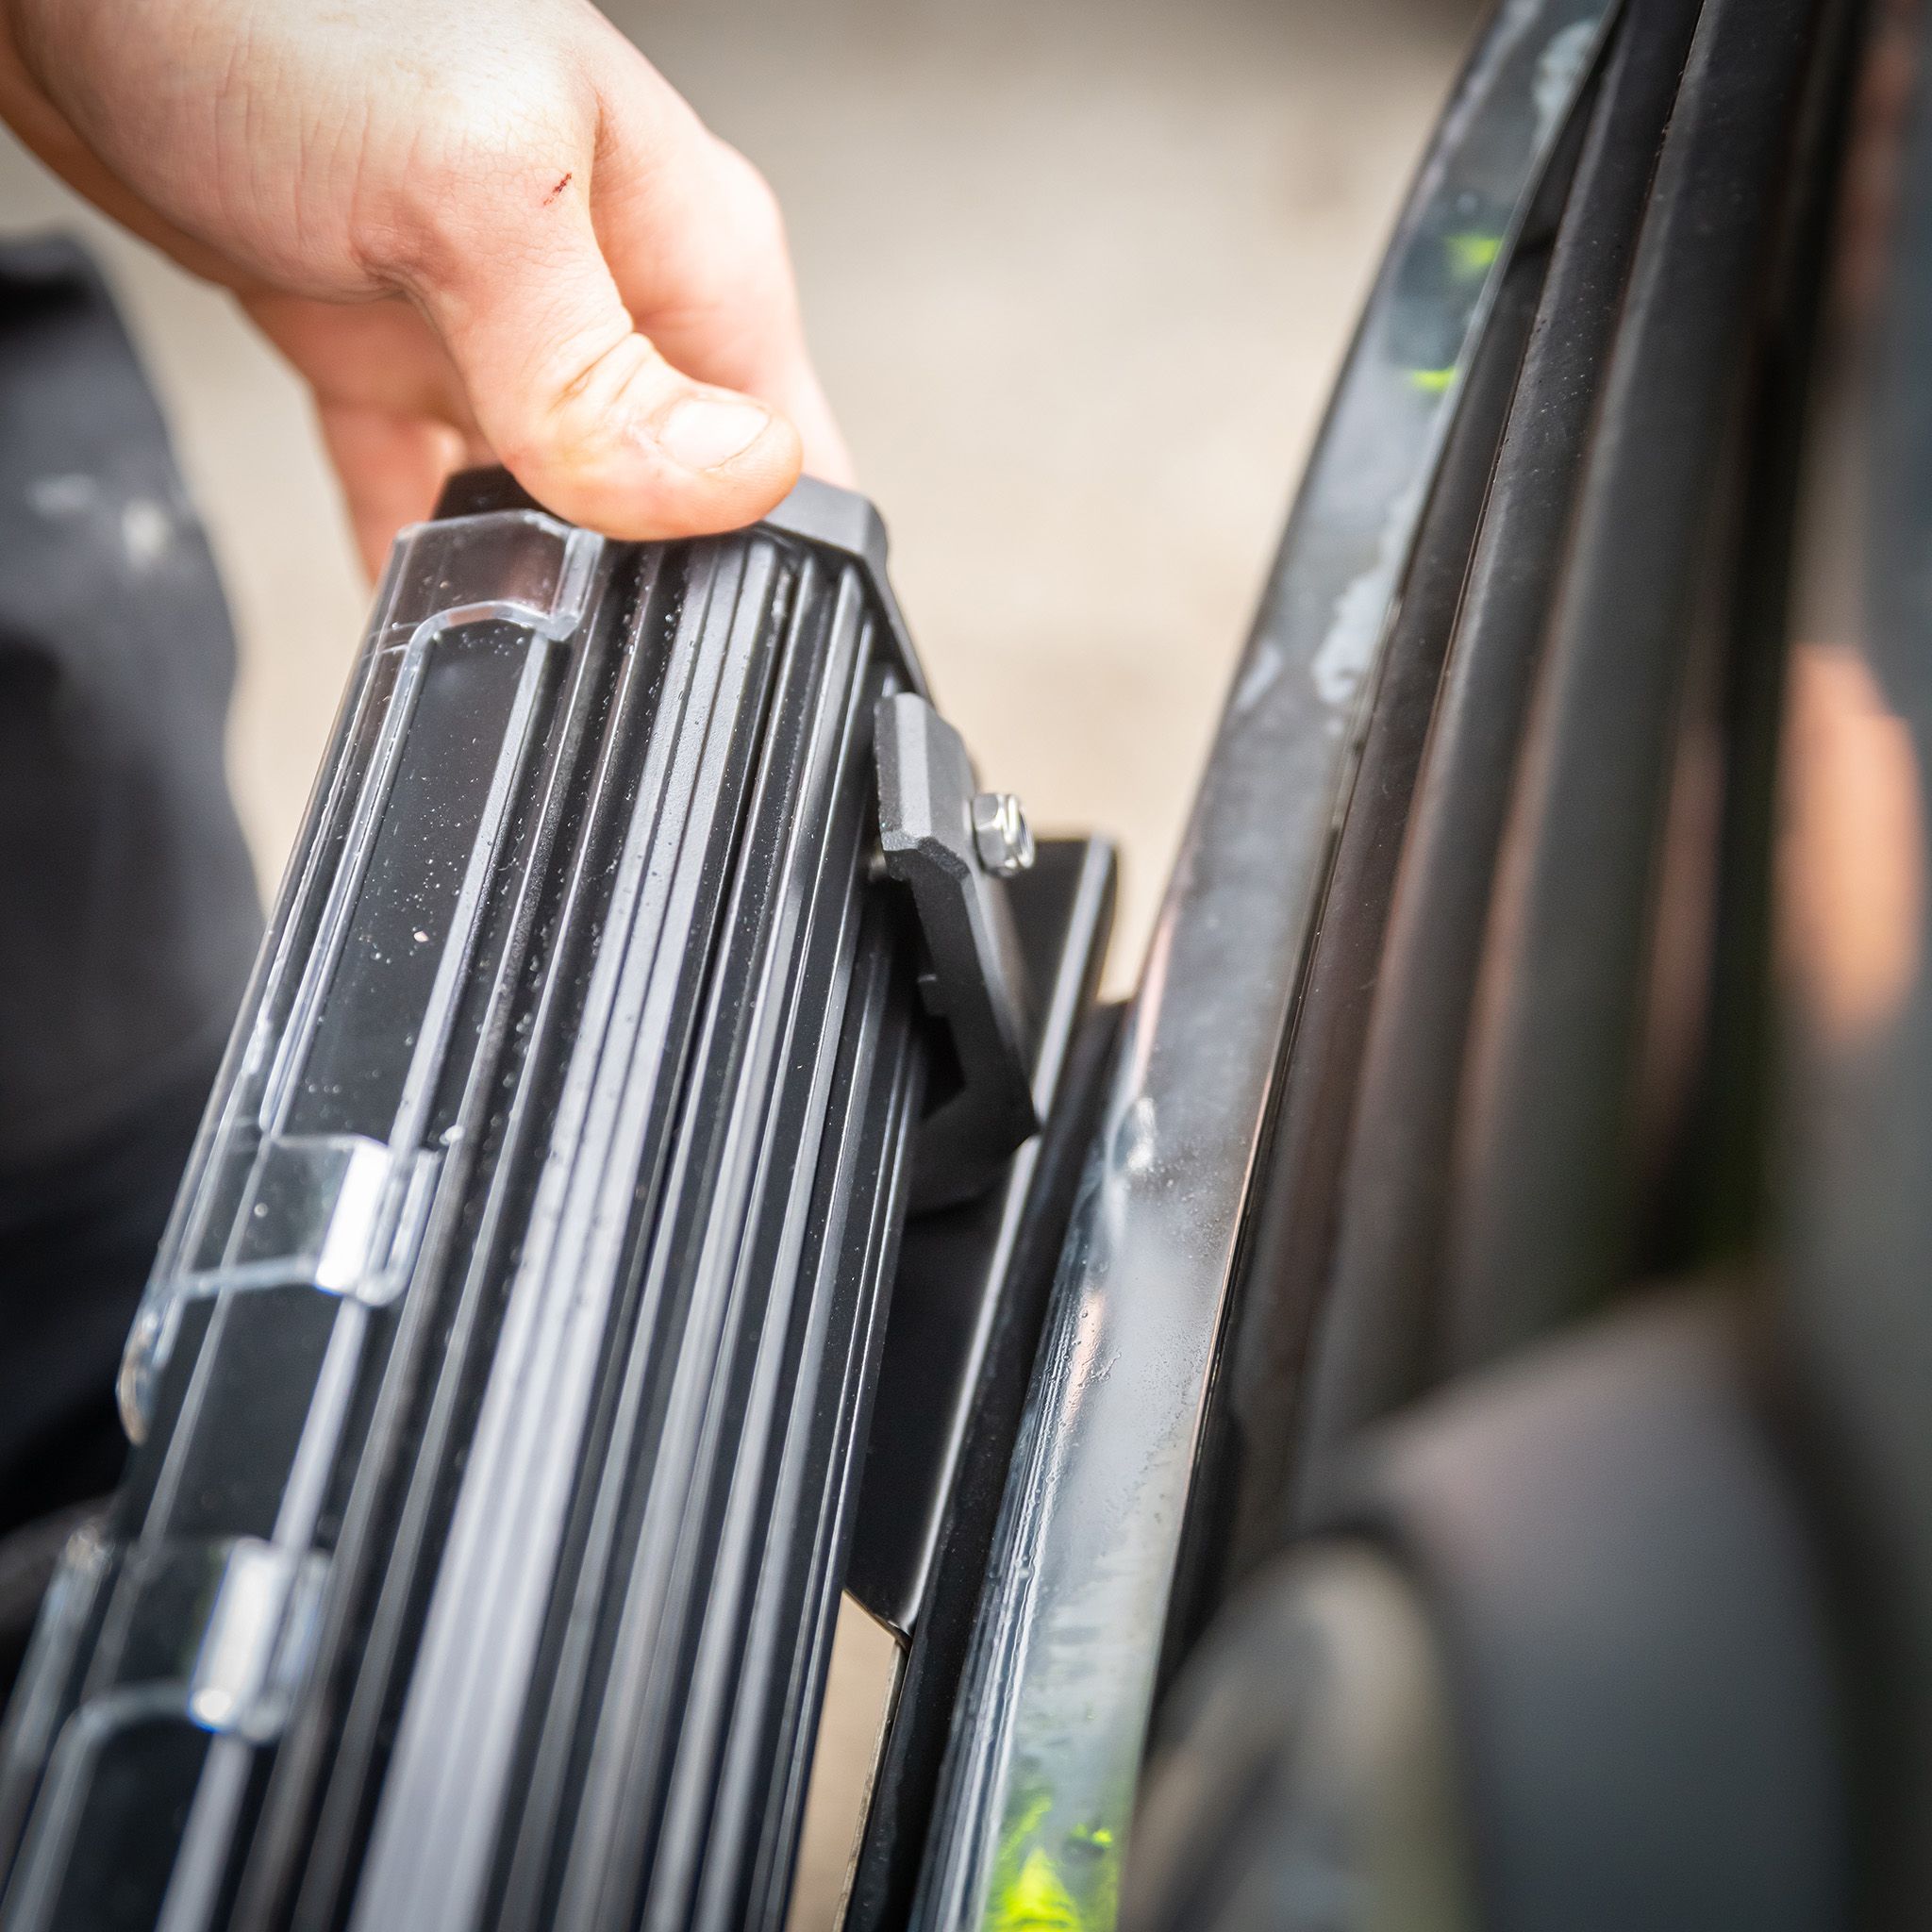
3. Connecting the auxiliary driving lights
Once the lights have been mounted, the next step is the most technical part of the installation: connecting the wiring so that the auxiliary lights receive power and switch on and off together with the high beams. The easiest and quickest approach is to use a ready-made relay wiring harness suitable for your lights. This guide covers connecting auxiliary driving lights through the vehicle's CAN bus system, meaning that the control signal is obtained from the vehicle's internal communication network rather than directly from the high-beam wire.
3.1 Components of the relay wiring harness
Before connecting the relay wiring harness, familiarize yourself with the following components:
Positive (red): Connects to the positive battery terminal or another constant positive power source in the engine compartment.
Ground (black): Connects to the vehicle chassis or another suitable ground point (connecting directly to the negative battery terminal is not recommended).
Fuse: The wiring harness's weakest link. If something goes wrong, such as a short circuit or a light drawing more power than the harness is designed to handle, the fuse interrupts the circuit to help prevent damage to the light, vehicle or other components.
Signal wire (blue): (Not included on Purelux Dualrelay wiring harnesses; see details below). Not used as the high-beam control input in CAN bus installations. In some installations it can instead be used for other functions, such as connecting position lights (see below).
Function wire (white): (Only included on Purelux Dualrelay wiring harnesses; see details below). Connects to an additional function of the auxiliary light, such as a position light or flashing function.
Auxiliary light connector: The number and type of connectors vary between relay wiring harnesses. Connects to the light's connector. Some high-power auxiliary lights do not have a connector and instead come with loose wires.
Relay: A type of electrically operated switch that links the control circuit and the power circuit. When the relay receives a control signal, it switches the higher-current supply to the auxiliary driving light.
3.2 About the XBB Dongle & PowerUnit and different installation scenarios
The XBB Dongle & PowerUnit, one of the most commonly used CAN bus decoder solutions, consists of two devices: the Dongle, which acts as a control unit (reading the vehicle's signals and transmitting them wirelessly to the XBB PowerUnit), and the PowerUnit, which acts as a smart relay (receiving information from the Dongle, such as when the high beams switch on or off, and connecting to the relay wiring harness).
However, the XBB PowerUnit (relay) is limited to 15 A / 180 W at 12 V. This means the installation will vary depending on the number and power consumption of the auxiliary driving lights. See the scenarios below:
- Scenario 1: Installing any number of auxiliary driving lights with a combined load of up to 15 A / 180 W at 12 V
- Use a standard traditional relay wiring harness (included in complete kits where the total auxiliary light power is below 180 W).
- Scenario 2: Installing 1–4 auxiliary driving lights with a combined load exceeding 15 A / 180 W at 12 V
- Use a Purelux Dualrelay wiring harness (included in complete kits with XBB when the light power exceeds 180 W).
- Scenario 3: Installing 5 or more auxiliary driving lights with a combined load exceeding 15 A / 180 W at 12 V
- Use both a Purelux Dualrelay harness and a standard traditional relay wiring harness. Connect the two harnesses by joining the white wire of one harness to the blue wire of the other.
What is Purelux Dualrelay?
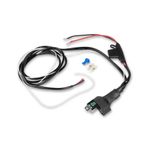
Purelux Dualrelay is a relay wiring harness that bypasses the XBB PowerUnit's 15 A (180 W) load limit, making it easy to connect powerful auxiliary lights or several lights at once. As its name suggests, Purelux Dualrelay uses two relays: a conventional relay and the XBB PowerUnit relay. Rather than carrying the lighting load itself, the XBB PowerUnit acts as a controller for the conventional relay, which handles the load. The PowerUnit receives the switching signals from the Dongle and passes the control signal to the conventional relay without carrying the main lighting current. Otherwise, the Dualrelay is connected like a standard relay wiring harness.
Purelux Dualrelay is available in several versions to suit different auxiliary driving light installations. Choose a DT2 connector, DTP connector or bare-wire version, with 1, 2, 3 or 4 outputs. Does your light use a DT3 or DT4 connector? Simply use a DT2-to-DT3 or DT2-to-DT4 adapter.
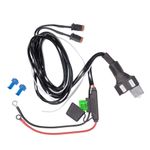 Dualrelay DT2
 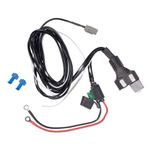 Dualrelay DTP
  Dualrelay HD
3.3 Connecting the positive (red) and ground (black) wires
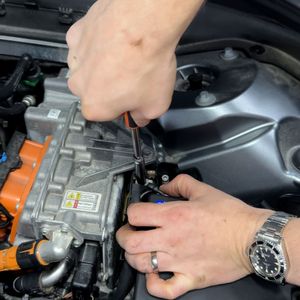
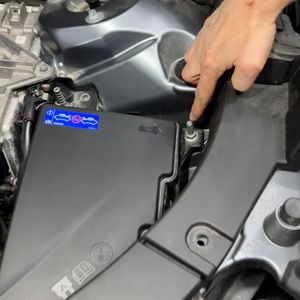
Positive (+): Remove the fuse from the relay wiring harness to prevent a short circuit. Connect the ring terminal on the red wire to the positive battery terminal or another suitable positive terminal in the engine compartment. Even if the battery is located elsewhere, there is almost always a designated positive connection point in the engine compartment, for example for jump-starting.
Ground (-): Connect the ring terminal on the black wire to a suitable ground point. We recommend an unpainted part of the vehicle chassis. Connecting directly to the negative battery terminal may place the ground connection on the wrong side of the battery management system (BMS) sensor, potentially interfering with battery monitoring and causing battery discharge.
3.4 Connecting the auxiliary light connector
Connect the relay wiring harness connector to the auxiliary light connector. You should hear a small click as it locks into place. That is all there is to it! If the light has no connector, you will need to make the connection yourself, preferably using suitable wire splice connectors.
3.5 Connecting position lights or other auxiliary light functions
- When using a Purelux Dualrelay wiring harness: Connect the white wire of the harness to one of the auxiliary light's position-light or flashing-function wires using a suitable method, such as a wire splice connector*. Make sure the connection is protected against moisture.
- When using a standard traditional relay wiring harness: Move the female spade terminal connected to the blue signal wire in the relay socket to the center position of the socket.
- Remove the relay from the socket and pull back the heat-shrink tubing to expose the wires entering the socket.
- Using a narrow tool, such as a small flat-head screwdriver, press in the locking tab on the female spade terminal connected to the blue signal wire.
- Pull the spade terminal and wire out of the relay socket. Insert the terminal into the center position of the socket. Make sure it faces the correct way so that the locking tab engages. You should hear a small click.
- Pull the heat-shrink tubing back into place.
- Connect the other end of the blue wire to one of the auxiliary light's position-light or flashing-function wires using a suitable method, such as a wire splice connector*. Make sure the connection is protected against moisture.
*Strip slightly less than 1 cm of insulation from each wire end. Insert the harness's white or blue wire into one end of the splice connector and the auxiliary light's position-light or flashing-function wire into the other. Crimp the connector with crimping pliers (if using a crimp connector), OR heat the connector until the solder melts completely (if using a solder-seal connector). Protect the connection against moisture with electrical tape, harness tape or heat-shrink tubing.
3.6 Connecting the XBB Dongle & PowerUnit
XBB Dongle:
- Download the XBB app from the App Store (iOS) or Google Play (Android) and create an account.
- Plug the Dongle into the vehicle's OBD port (diagnostic socket).
- Add the Dongle in the app and download the recipe (software configuration) for your vehicle model.
XBB PowerUnit:
- When using a standard relay wiring harness (installation below 180 W): Remove the existing conventional relay and replace it with the XBB PowerUnit.
- When using Purelux Dualrelay: Insert the PowerUnit into the empty socket marked "Smart". Leave the conventional relay in place!
- Go to the PowerUnit section in the app, select "Add PowerUnit" and add your device.
- Open the PowerUnit settings (gear icon) to choose which signals control the two outputs. Output 1 should almost always be controlled by the high beams, so select "HIGHBEAM" or a similar signal for Output 1. If you have connected position lights or another function to the white or blue wire as described earlier (see Section 3.5), that function is connected to Output 2. Select a suitable signal, such as "IGNITION" or "PARK.LIGHT" for position lights, or "WARNING.LIGHT" for flashing lights.
- Tap "Save".
4. Testing and tidying the wiring
Once all connections have been made, reinsert the fuse into the wiring harness fuse holder and test the auxiliary lights and all their functions. If everything works as expected, neatly bundle the cables together and secure them in a suitable location in the engine compartment where they are protected from moisture.
If the auxiliary lights or any function fail to switch on, check the following:
- All connections have been made securely.
- The auxiliary light itself is working by connecting it directly to the battery without the relay wiring harness (following the light manufacturer's connection instructions).
- All settings in the XBB app are correct (see the complete troubleshooting guide HERE).
5. Aiming the auxiliary driving lights
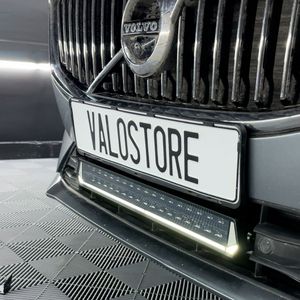
Once the lights have been mounted and connected, wait until it is dark. Find a suitable dark location, such as a long country road or a similar open area. Switch on the auxiliary driving lights and adjust them so that they point straight ahead. If the lights are aimed too low, they will illuminate the area immediately in front of the vehicle too strongly and reduce long-distance visibility.
If the lights are aimed too high, they will illuminate the treetops rather than the road. If you have installed several lights, you may want to aim the outer lights slightly outward for a wider beam pattern.
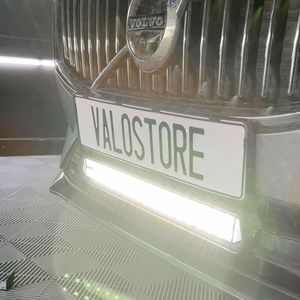
We hope this guide has helped you learn how to install auxiliary driving lights! If you still have questions, feel free to contact our customer support experts.
Shop reviews
4.6
number of ratings 165329- Hurtig levert: ...Hurtig levert:Tore D 9.10.2026

0
0
- Toppen affär, snabb leverans, billiga priser....Toppen affär, snabb leverans, billiga priser.Charlie L 9.10.2026

0
0
- Todella nopea toimitus on ollut aina. Luotettava kumppani....Todella nopea toimitus on ollut aina. Luotettava kumppani.Jarmo K 9.10.2026

1
0
- Topp score her. kunde servicen er eksepsjonelt god 🙏🎉🥳...Topp score her. kunde servicen er eksepsjonelt god 🙏🎉🥳Kenneth V 9.10.2026
0
0
- helt fantastisk 🎉🥳...helt fantastisk 🎉🥳Kenneth V 9.10.2026
0
0
- 👍...👍T H 9.10.2026
1
0
- 5...5Atle T 8.10.2026
0
0
- Very good...Very goodGerard V 8.10.2026

0
0
- snabb leverans!...snabb leverans!Mats B 8.10.2026
0
0
- Todella nopea ja sujuva toimitus....Todella nopea ja sujuva toimitus.Pasi aatos P 8.10.2026
1
0
Easy and Safe Shopping
You can pay for the order safely and easily with Credit Card, Klarna, Paypal, Google Pay or Apple Pay. Shipping costs starts at only 3.90€. We use UPS and GLS for shipping.
Fast Delivery in 3-7 days (DHL/UPS/GLS)
Products in stock are normally shipped out within 1-2 working days. We process orders continuously and orders placed before 13 are normally sent at the same day. The shipment takes usually 3-7 days in Europe.
100% Satisfaction Guarantee
We want you to be 100% satisfied with your purchase. That's why we offer 30 days FREE returns if you are not happy with your product. Safe and carefree shopping at its best!

THE BIGGEST AND CHEAPEST LIGHT STORE IN THE NORDIC COUNTRIES
Lighting fixtures and their associated accessories are in a constant state of evolution - and so is our product selection. Within the VALOSTORE online shop, you will always discover the most cutting-edge auxiliary lights, headlamps, work lights, and handheld flashlights, along with top-tier accessories available in the market. Valostore boasts its very own light measurement laboratory, ensuring that we provide accurate information regarding the actual luminous output and other performance-related metrics of our fixtures. We warmly invite you to explore the VALOSTORE online shop and indulge in a shopping experience like no other!
VALOSTORE.COM
Handshake Finland Oy
VAT: FI23041120
Alasintie 9, 90400 Oulu, Finland
WHAT WE OFFER
- The best brands in the lighting industry
- Satisfaction guarantee
- 30-day free returns
- Safe payment methods
- Fast deliveries
- Free delivery across Europe on orders over 229 €. Free returns on all orders.
- Note: "UPS - Delivery across Europe"