- Auxiliary light / Led bar installation guide
- XBB Dongle + Powerunit - complete installation guide
- Auxiliary light / Led bar selection guide
- Different ways of getting signal for auxiliary lights
- Led strip installation guide
- Led strip dimming and controlling
- Led strip selection guide
- Saving electricity in home lighting
- Caring instructions for flashlights and headlamps
- Guide how to store flashlights and headlamps
- Construction site lighting
- Work machine lighting guide
- Bicycle lighting
Different ways of getting signal for auxiliary lights
The auxiliary lights of a vehicle are usually always controlled by so-called relay control, which makes the auxiliary lights come on at the same time as the car's main lights. The easiest way to connect auxiliary lights with relay control is with ready-made relay wiring harnesses, in which three wires are connected in practice: power, ground and excitation current (which tells the relay when the main lights are on and "tells" the relay to turn on the auxiliary lights). Of these, power (+) and ground (-) are usually very clear, but where the excitation current is obtained depends largely on the vehicle.
Nowadays, as the original lights of a car become more complicated, the excitation current for the auxiliary lights must also be obtained in a different way than 10 or 20 years ago. We have collected in this article the most common methods for obtaining excitation current and controlling the auxiliary lights. We have also listed the advantages and disadvantages of the different methods, as well as in which cases it is worth using each one.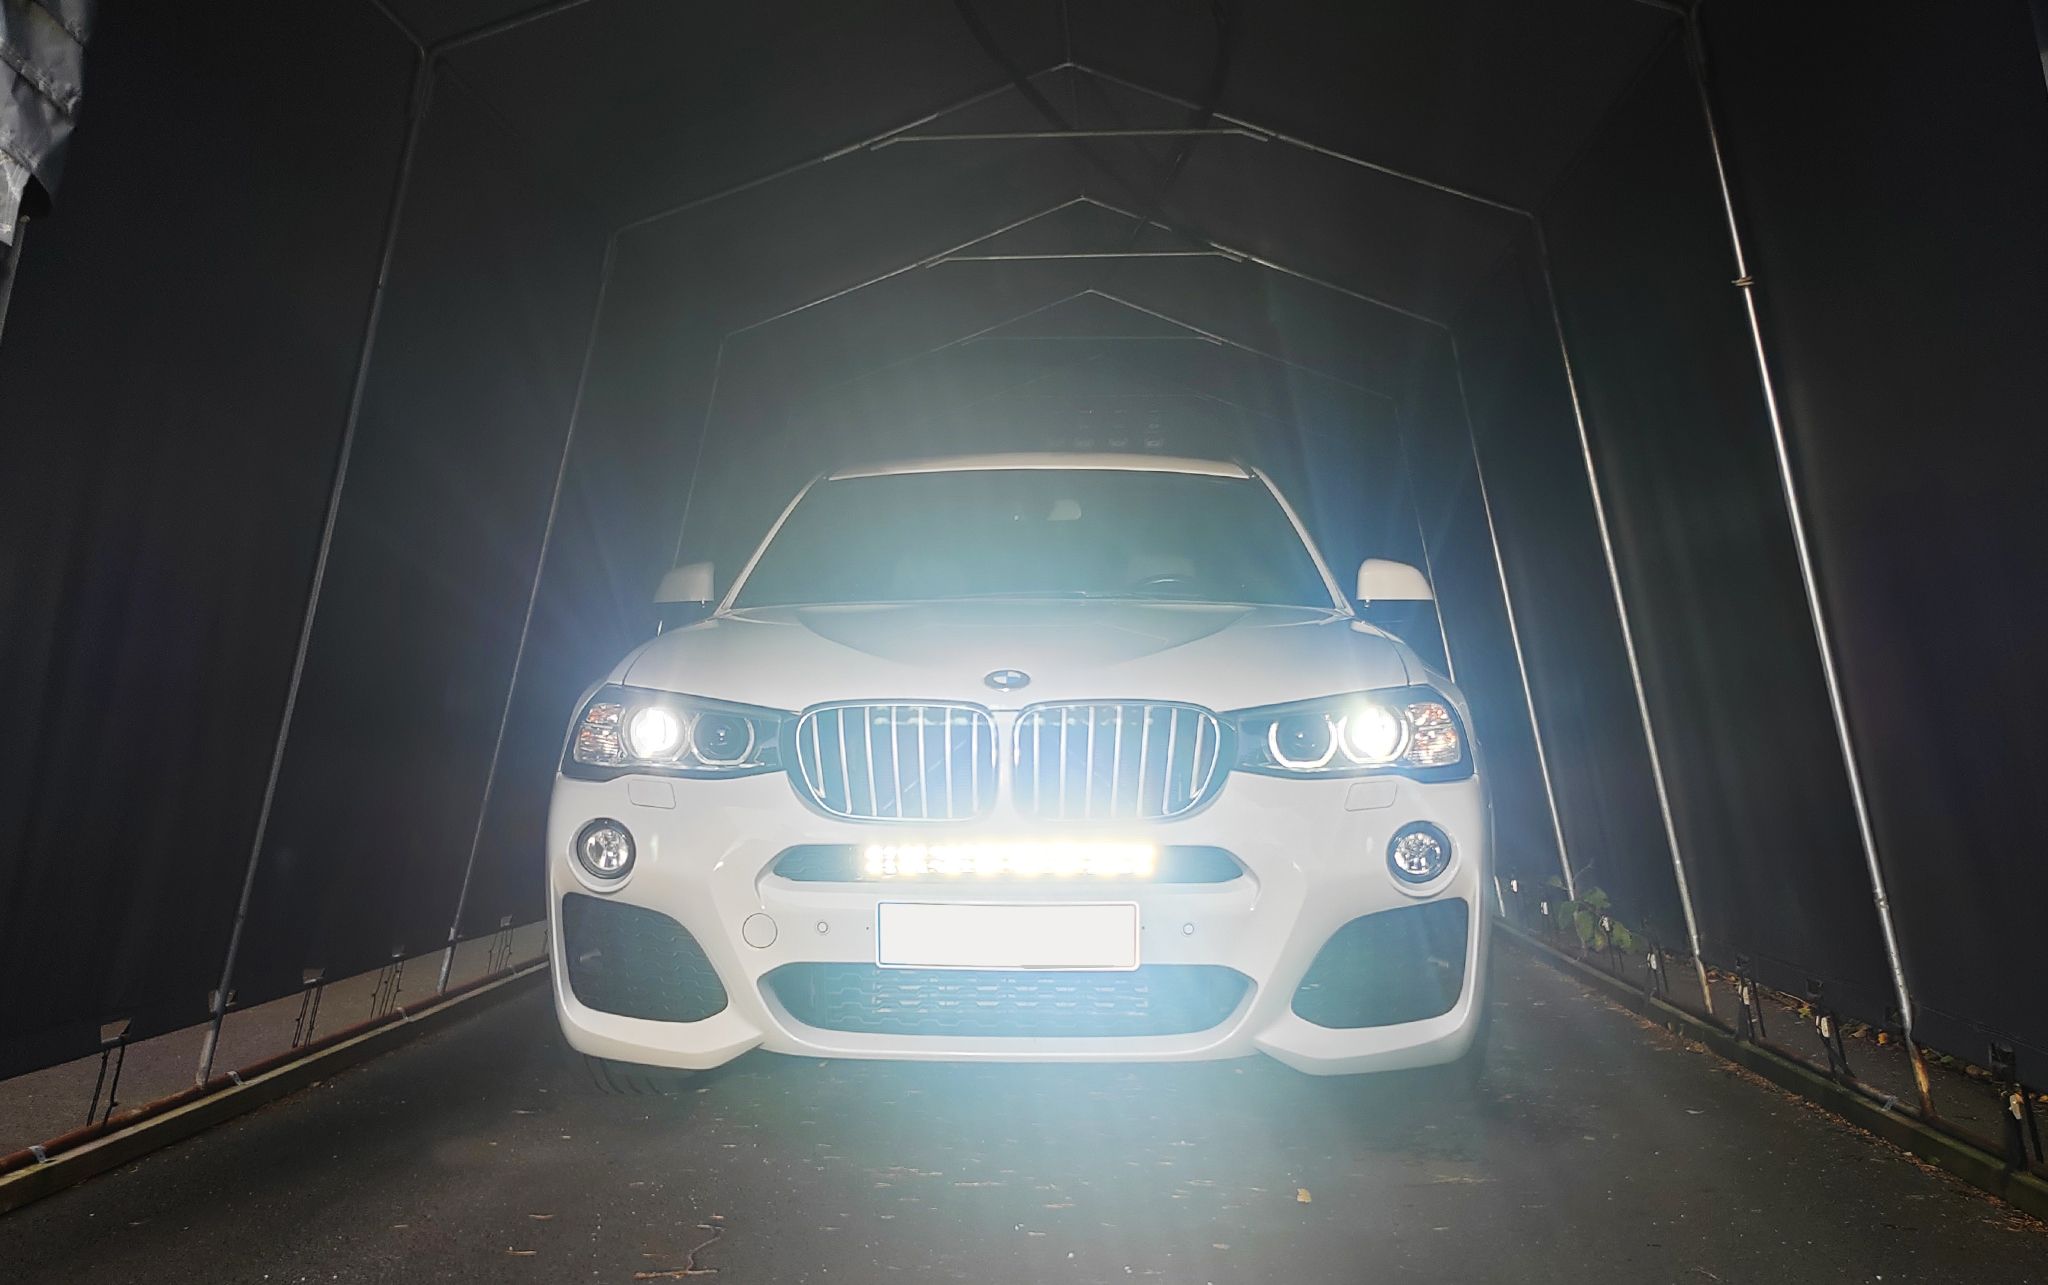
"Robbing" the excitation current
For: cars with halogen bulbs and xenon bulbs
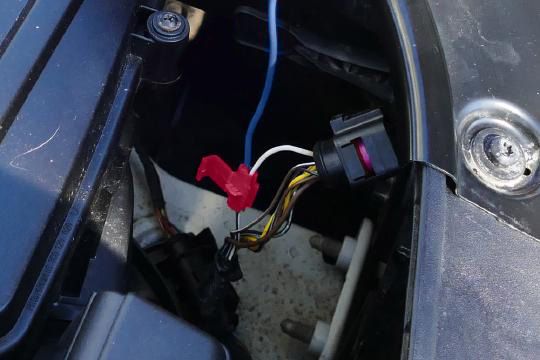
The traditional, easiest and most commonly used method is to grab the excitation current from the vehicle's high beam positive wire, i.e. the wire that supplies power to the car's own high beam bulb. A "robber connection" works when there is a clear wire coming to the bulb that is powered when the high beam is turned on, and turned off when the high beam is turned off. The connection is successful in practically all cars with halogen lights and most cars with xenon bulbs. It is easy to verify suitability, for example, by measuring with a multimeter whether there is a suitable wire among the wires coming to the bulb (power comes when the high beam is on and turns off when the high beam is turned off).
In this method, the wiring harness's excitation wire is connected directly to the high beam power wire, either by stripping a small section of the wire itself and soldering the excitation wire to it, or, at its simplest, with a so-called robber connector, which makes a small cut in the wire's sheath and picks up the signal through it.
If you want to turn off the auxiliary lights even though the car's own high beams are on, you can insert a switch in the excitation wire to cut off the excitation current. This way, the auxiliary light will not come on even though the car's own high beams are on. In this case, the auxiliary light can be turned off, for example, when driving in heavy snow or fog, and in other similar situations where the car's own high beams can be used but the auxiliary high beams cannot or do not want to be on.
In some cases, the car also has its own fuse for the high beams, from which the excitation current can be tapped directly to the wiring harness' excitation wire using a fuse splitter. It is worth checking this in the car's manual.
Excitation power from CAN bus
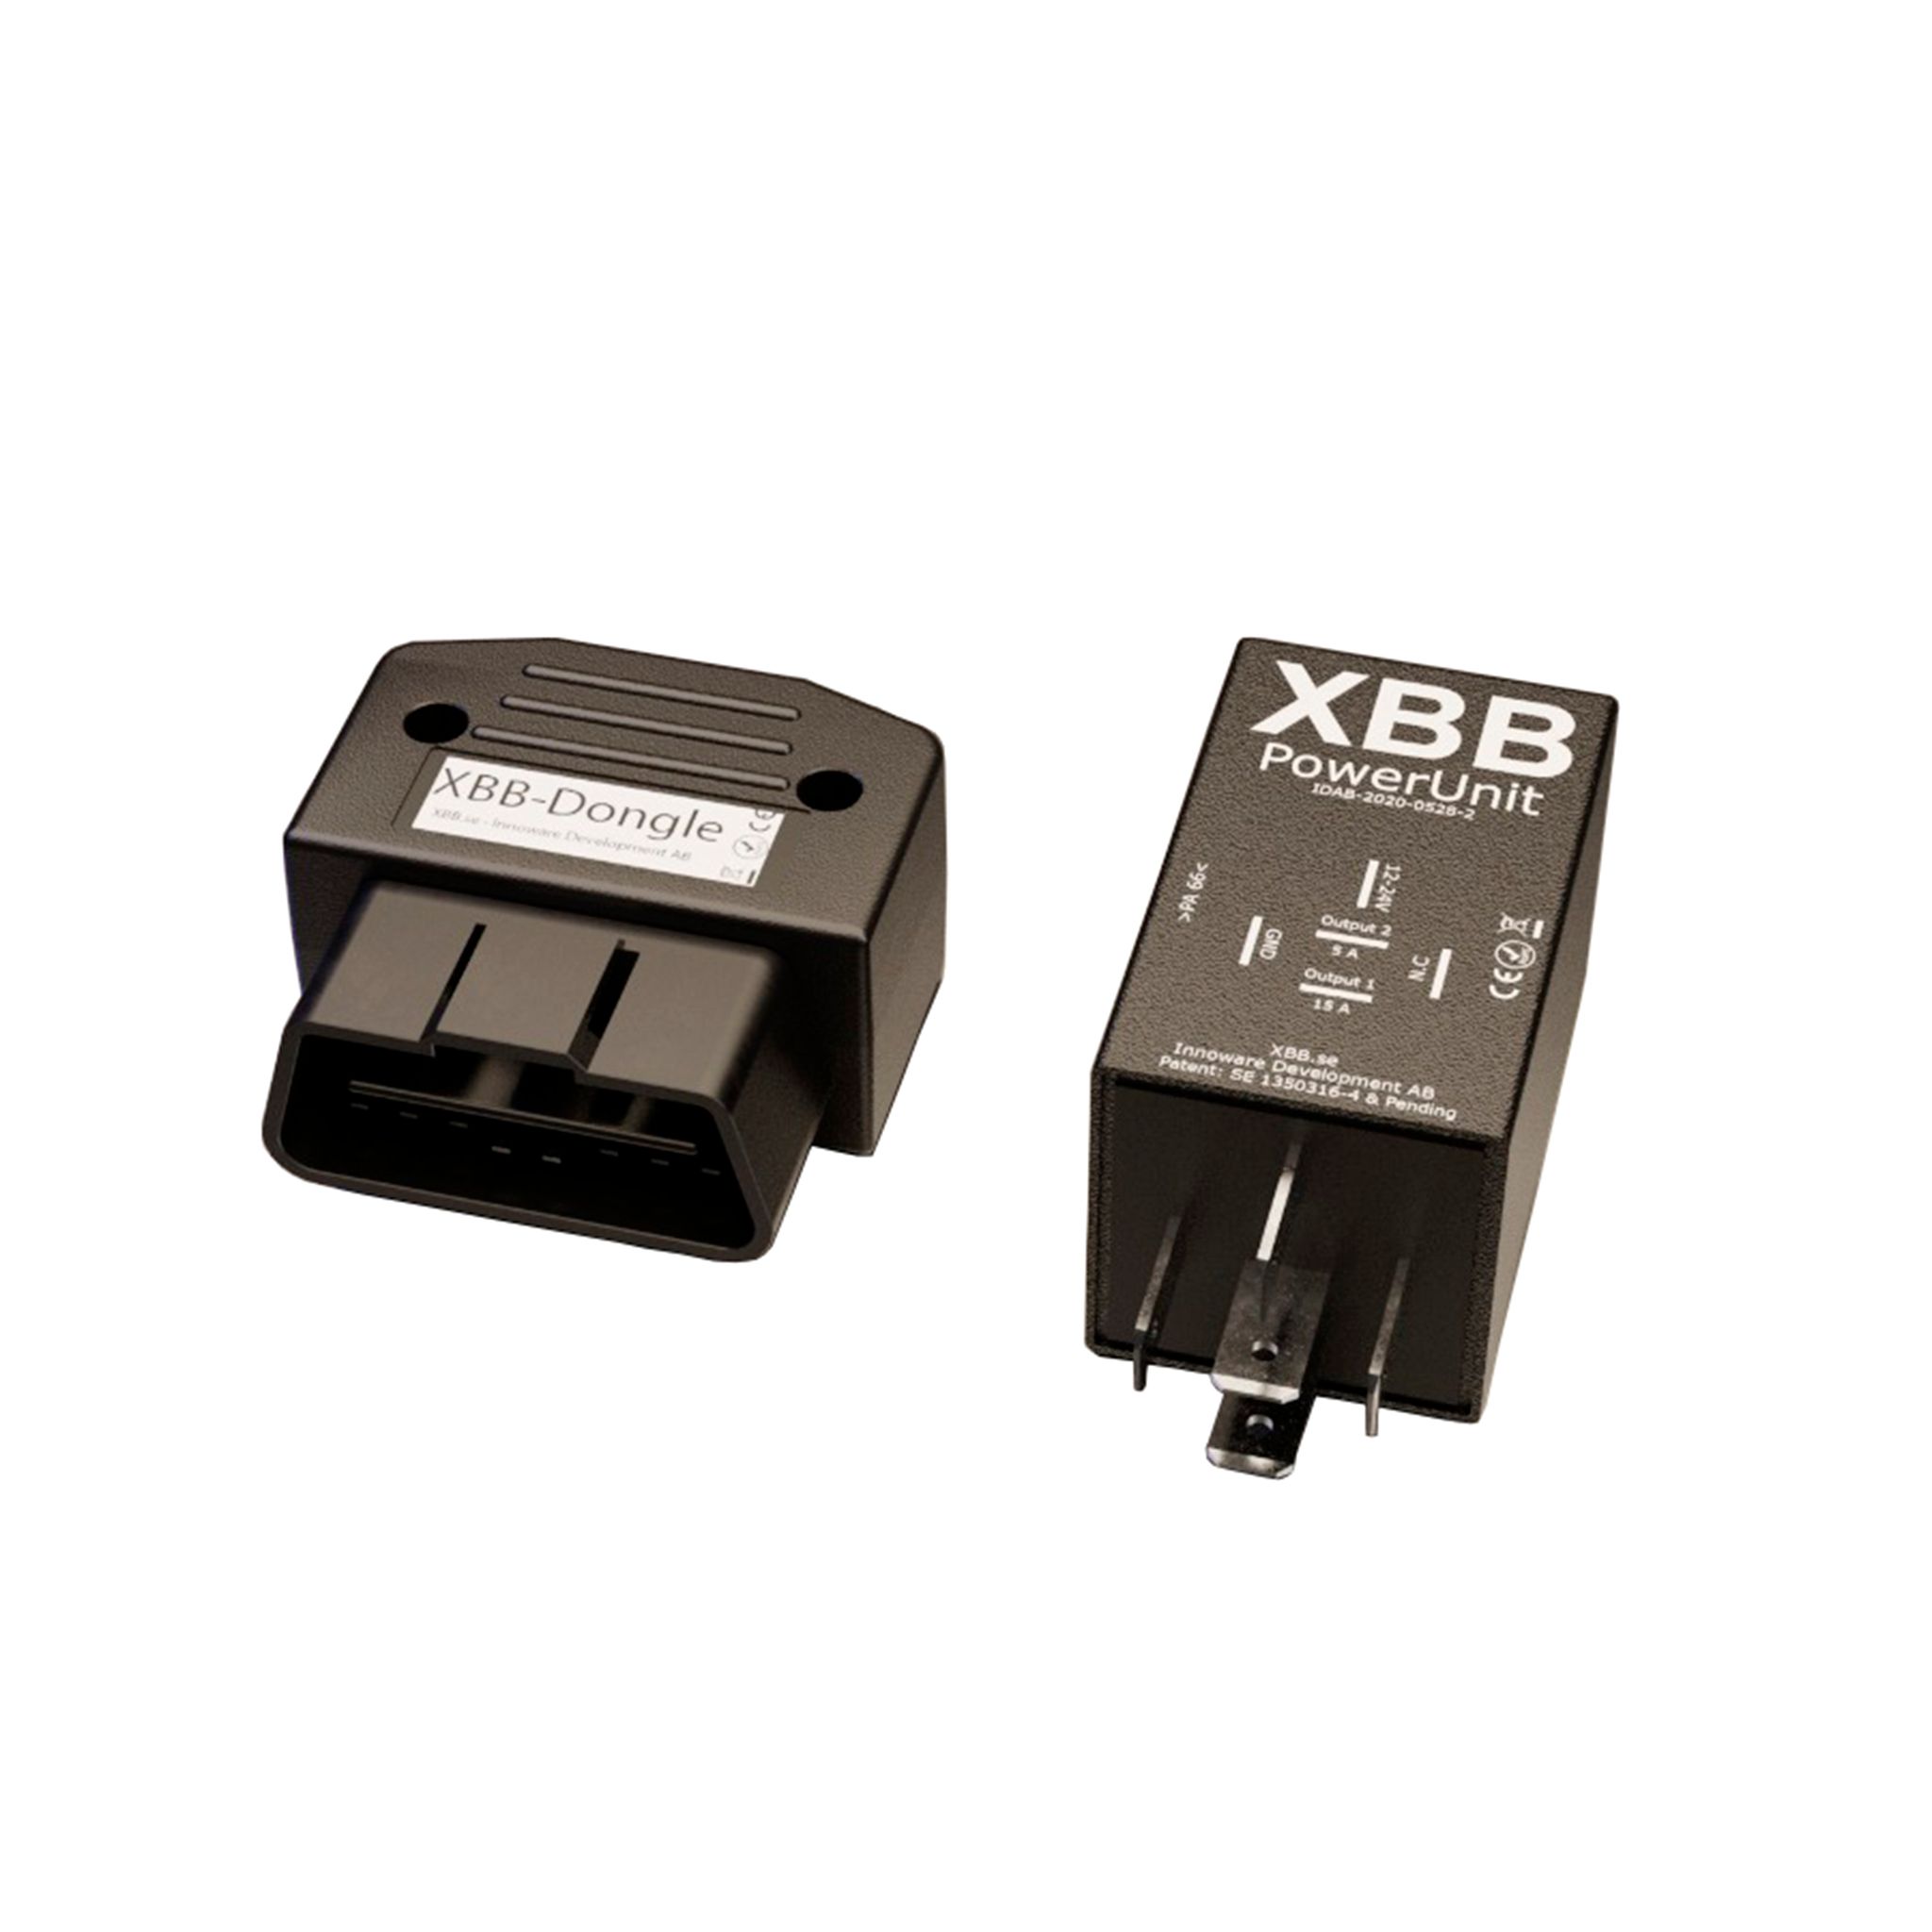
Reader and smart relay connected to OBD port: XBB Dongle + Powerunit
For: New cars and cars with LED lights
In many newer cars, and for example practically all cars with LED lights, the low and high beams are no longer controlled traditionally by switching on and off the power to the bulb or the bulb, but the bulb is supplied with power continuously and the high beams are controlled via the so-called CAN bus, i.e. in practice the bulb only receives a data signal that "tells" the bulb to switch on the high beams. In this case, the traditional "robbery" connection will not work, and the excitation will have to be found somewhere else.
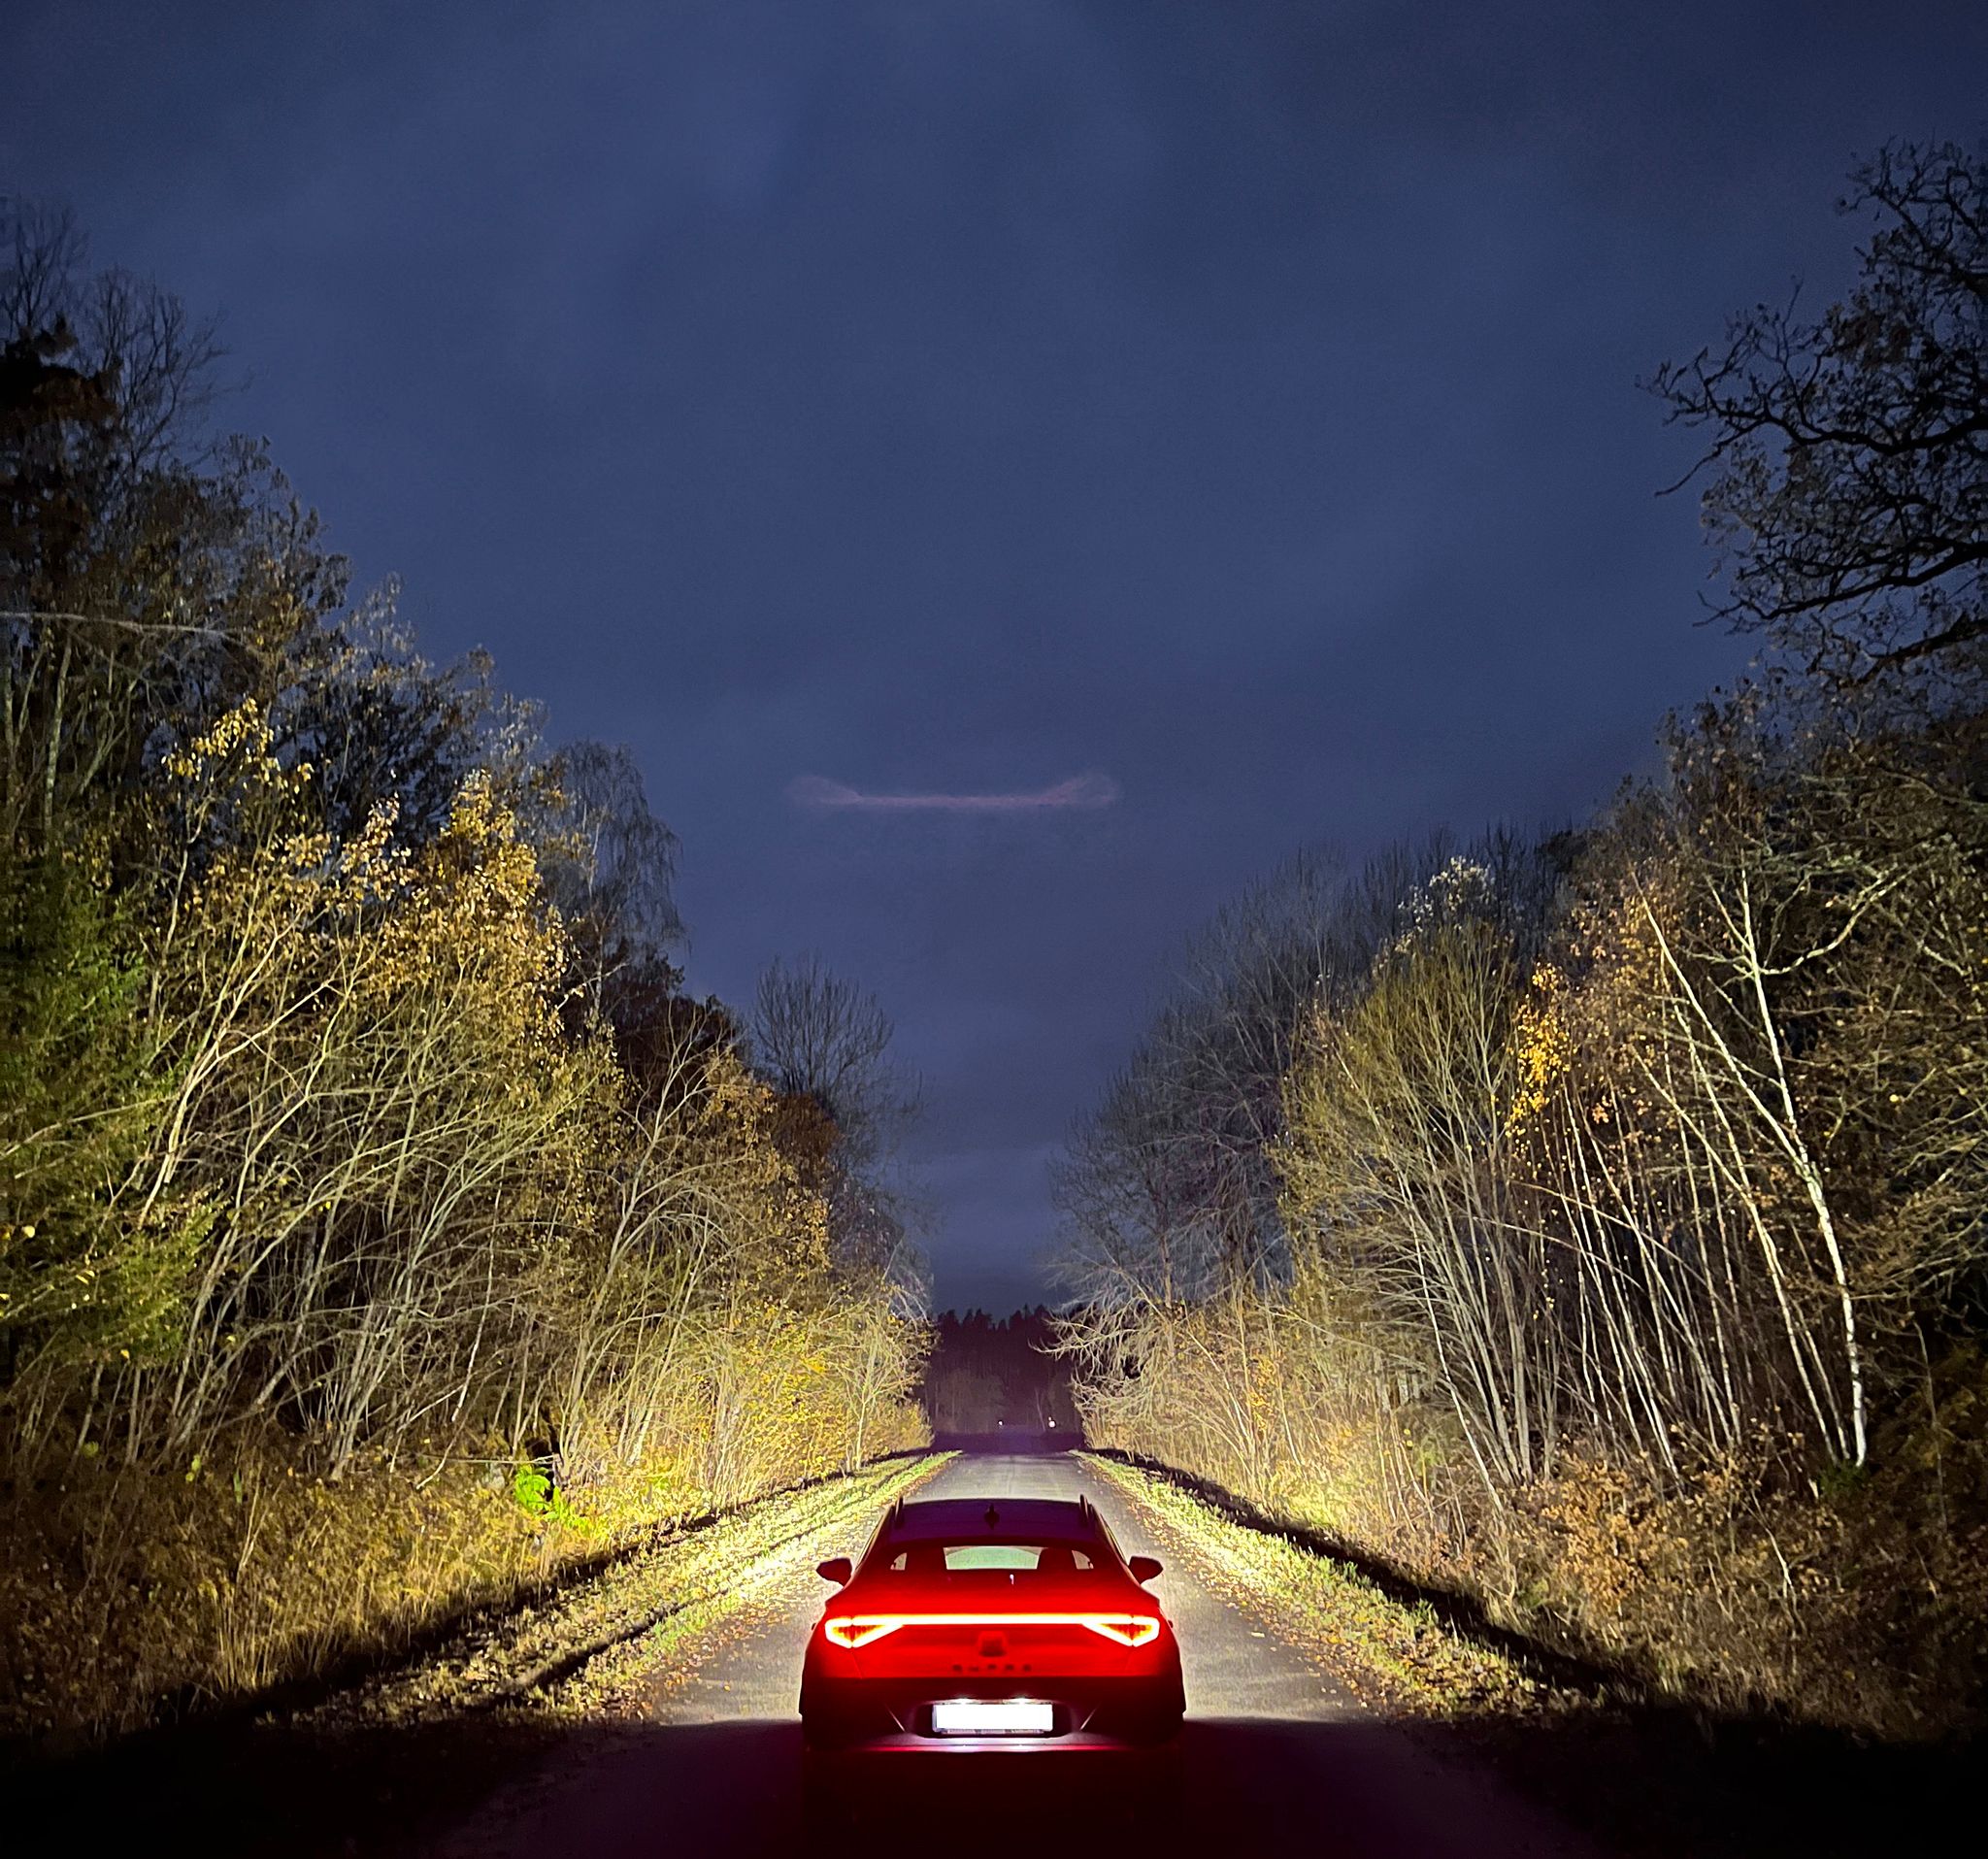
The easiest way to connect the excitation in CAN bus-controlled cars is the XBB smart relay. In this method, a reader is connected to the car's OBD port, which reads the information from the car's CAN bus when the high beams are switched on, and sends the information back to the smart relay installed in the wiring harness, which in turn switches the auxiliary light on based on the information. The advantage of this connection is that no changes are made to the car's own wiring. In addition, this can be used to control, for example, the parking light in the auxiliary light or, alternatively, for example, the reversing lights, and the relay can be set to determine when the auxiliary light is on or whether it turns on at all.
The same method can be used if there seems to be no suitable place for the excitation, or if, for example, you do not want to make any changes or connections to the car's own wiring. You can check the suitability of XBB for your car:
Capturing the excitation current from the car's body control module (BCM)
For: At least for VW Group MQB-based cars
An alternative to the XBB smart relay (presented above, captures the signal from the car's CAN bus via the OBD port) at least for VW Group MQB-based cars is to capture the excitation current from the BCM (Body Control Module). In this method, a repair wire is connected to a free pin found in the car's BCM connector, which is coded with e.g. VCDS or OBD11 software to operate in such a way that the wire receives power whenever the high beams are on, and is disconnected whenever the high beams are turned off. The free pin cannot be directly stated, as it depends on the car and the equipment level and must therefore always be checked for each car. The BCM connectors can be found in the driver's footwell, above the bonnet release lever.
After this, a traditional relay wiring harness is installed in the car, with the excitation wire connected to the wire coming from the BCM. This way, the BCM gives an excitation signal to the relay whenever the high beams are switched on, which in turn turns on the auxiliary light. The advantage of the BCM connection is that in this case the light can be programmed to work even with the automatic high beams (or so that the auxiliary light does not come on with the automatic high beams, but when the high beams are "forced" on, the auxiliary light also comes on).
Works e.g. in the following vehicles:
- Audi A3 Mk3 (2013–2020)
- Audi Q2 (2016–present)
- Audi TT Mk3 (2014–present)
- SEAT León Mk3 (2012–2020)
- Škoda Octavia Mk3 (2012–2020)
- Škoda Superb Mk3 (B8) (2015–present)
- Volkswagen Arteon/CC (2017–present)
Volkswagen Golf Mk7 (2012–2020) - Volkswagen Golf Sportsvan (2014–2020)
- Volkswagen Passat (B8) (2014–present)
- Volkswagen Touran Mk2 (2015–present)
Controlling additional lights with a separate switch
For: All vehicles and lights (including work lights, etc.)
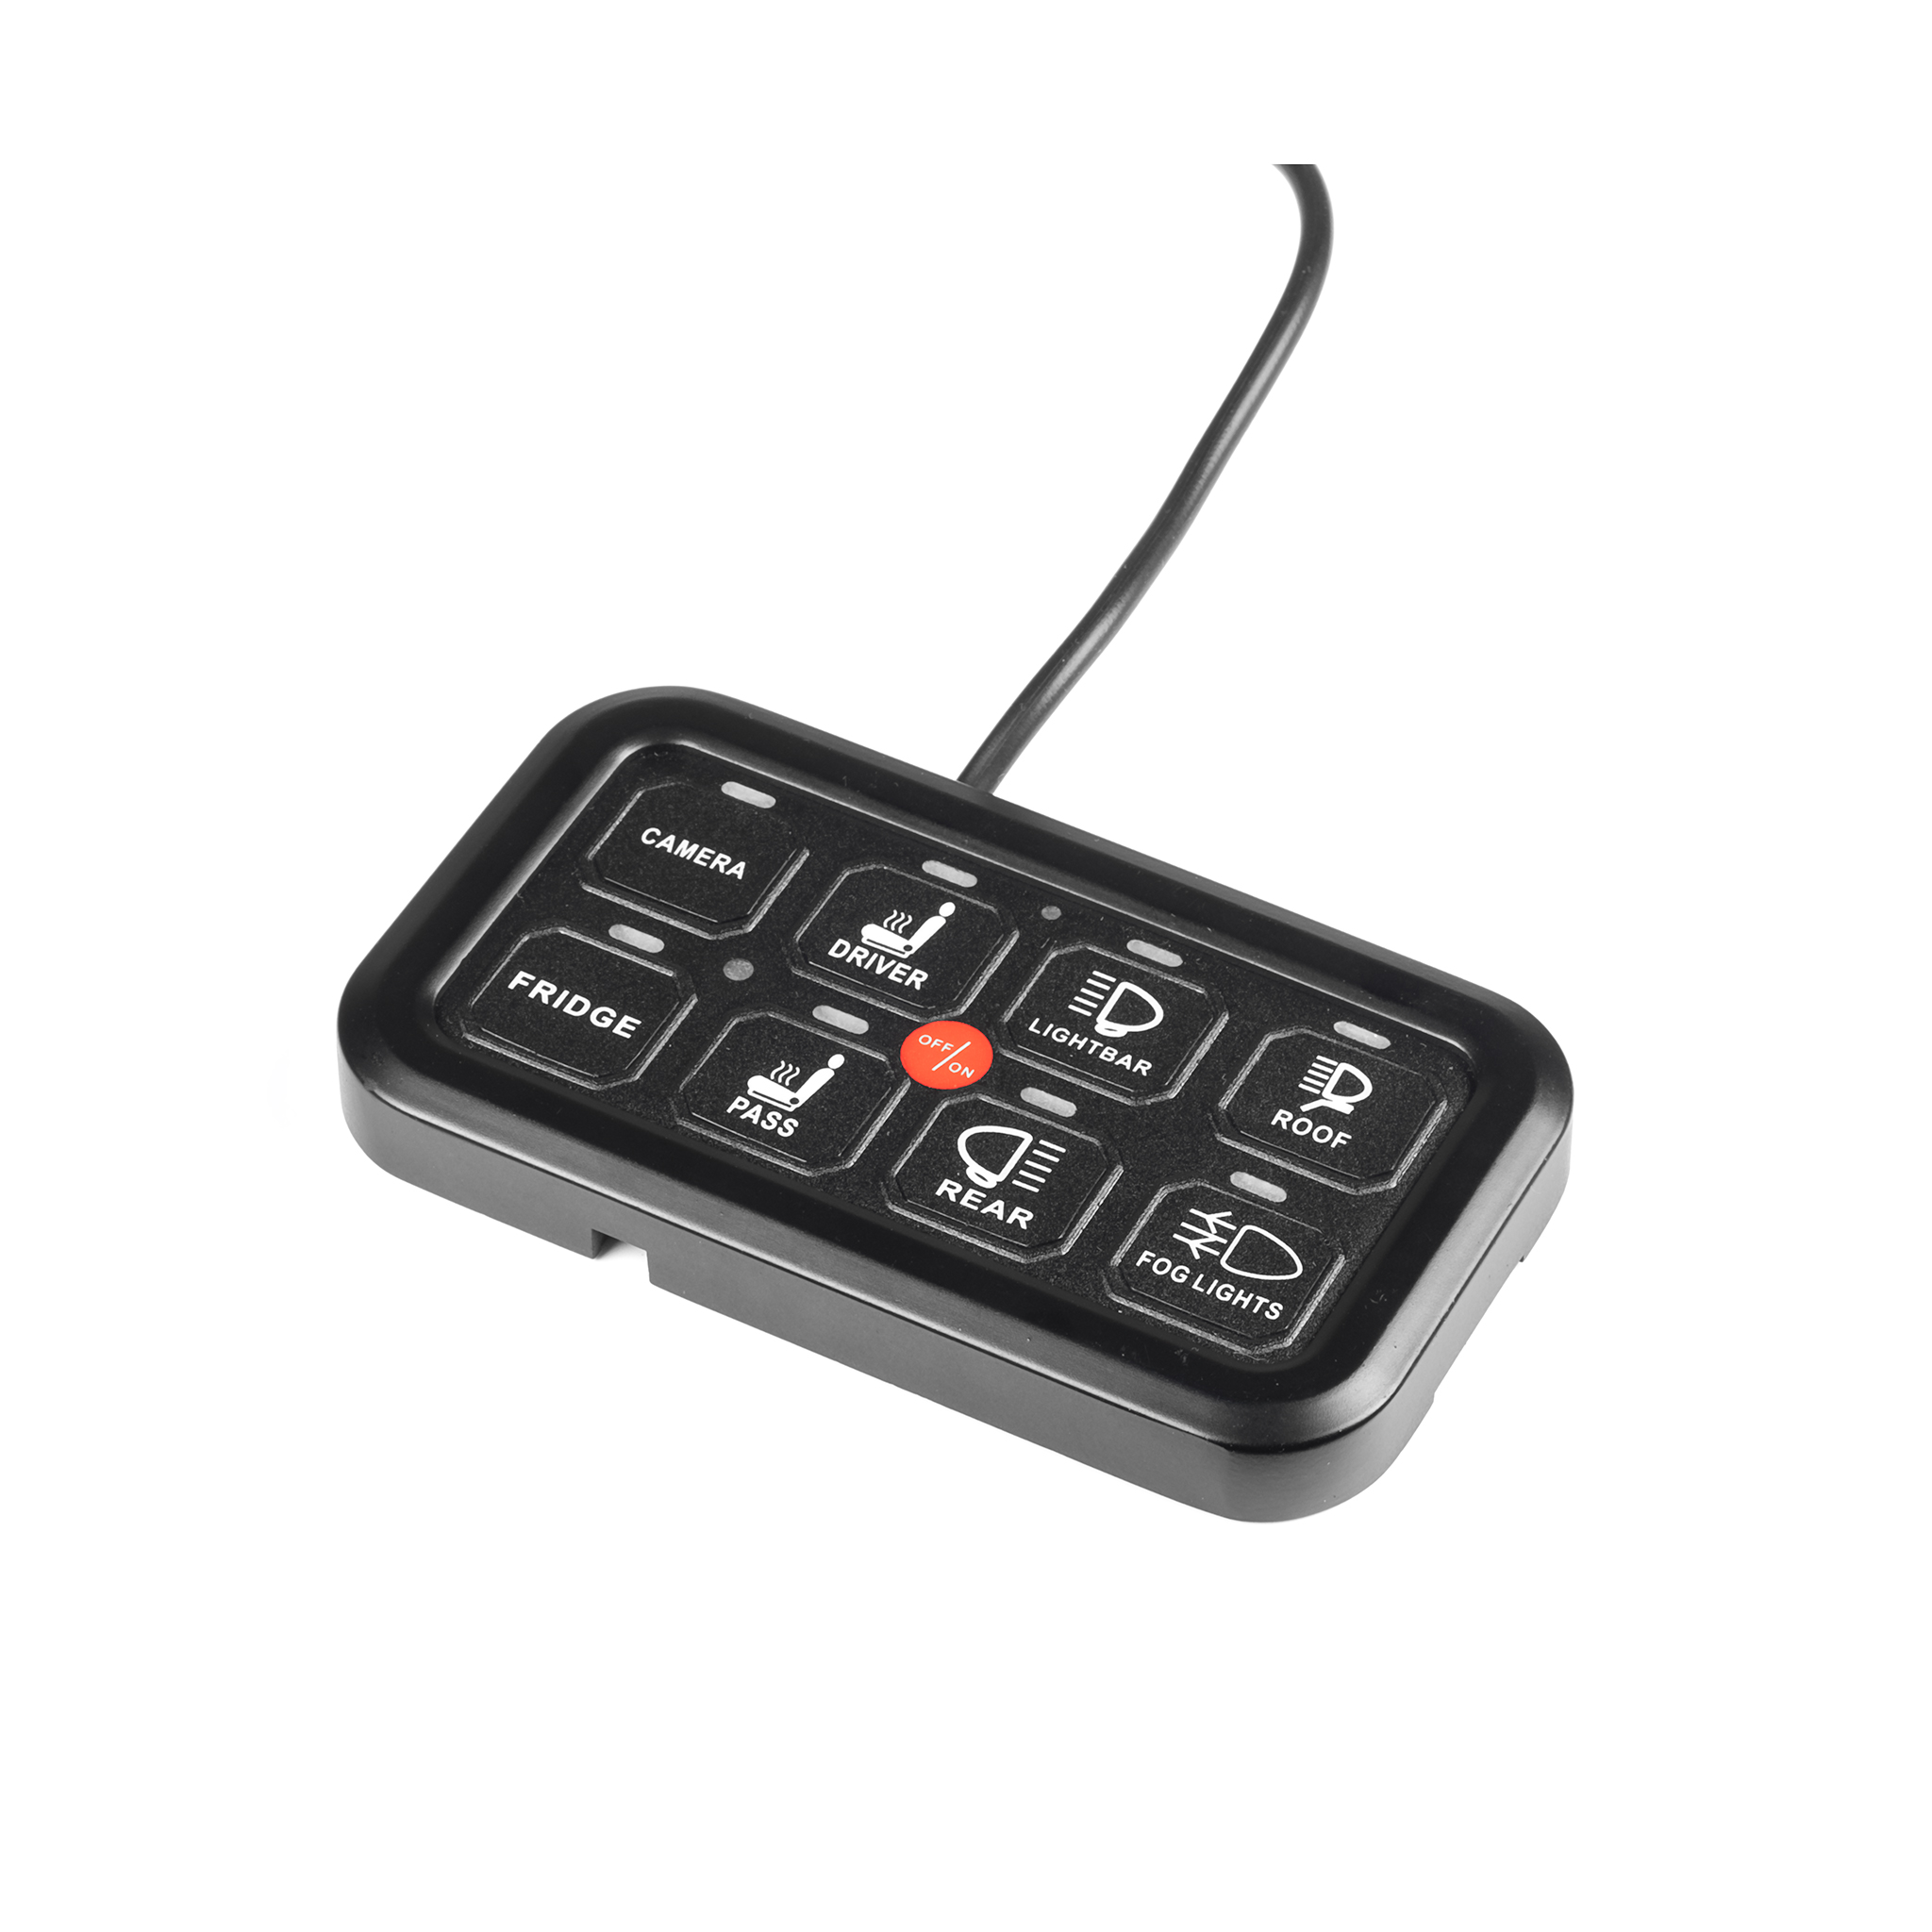
Although relay connection is the most common connection method for additional lights due to its ease and usability (the additional light turns on at the same time as the car's own headlights), there are also situations where you want to control the lights solely via a switch in the cab. This is the case, for example, when various work lights or warning lights are installed in the vehicle. It can also be sensible to connect the additional light on the roof to its own switch, so that it can be completely switched off, for example, during heavy snowfall.
There are a lot of different types of switches, and in principle any switch will also work for controlling additional lights, as long as the switch is sized according to the amount of current required by the lights. In addition, various switch panels are available, where a single switch panel can be used to control several lights or entire groups of lights (e.g. warning lights, work lights, tail lights, etc.). Our range includes, for example, a very extensive and versatile Purelux Multi Switch Panel with 9 switches, which can be used to control eight devices or groups of devices at a time. There is also a "little brother" model, the Purelux Mini Dashboard Controller.
In practice, the connection is made in the simplest way by installing a switch on the power cable (or ground cable) of the lights, which is brought into the vehicle's cabin and attached to the desired location. When the switch is turned on, the light turns on, and correspondingly, the light can also be turned off from the switch.
In addition, our range includes a remote-controlled wiring harness, which is connected to the car's power point (e.g. to the fuse box) and to the ground point. The wiring harness has two outputs (i.e. it can be used to control two lights). The lights can be turned on and off from the remote control, and if desired, they can be set to flash (e.g. warning lights).
Controlling "too powerful" light
Many control methods may have limitations regarding the power of the light. For example, if a smart relay can only handle a 180W light, but you want to use it to control a 300W additional light panel, the power limitation can be "worked around" by changing the connection slightly.
Instead of, for example, taking power from a smart relay (or other similar control devices) directly to the light (by connecting the light's power wire directly to the smart relay), the smart relay's current can be directed to the excitation wire of another relay wiring harness. This way, the excessive amount of current required by the additional light is made to flow through a sufficiently large relay, and correspondingly, the smaller current provided by the smart relay only controls that larger relay (or relay wiring harness). You can find more detailed instructions on the subject here: Connecting additional light over 180W using an XBB relay.
Shop reviews
4.6
number of ratings 165329- 5...5Atle T 8.10.2026

0
0
- Very good...Very goodGerard V 8.10.2026

0
0
- snabb leverans!...snabb leverans!Mats B 8.10.2026
0
0
- Todella nopea ja sujuva toimitus....Todella nopea ja sujuva toimitus.Pasi aatos P 8.10.2026

0
0
- Alltid lika bra....Alltid lika bra.Mathias Q 8.10.2026
0
0
- Kiitos hyvästä palvelusta ...Kiitos hyvästä palvelustaEeva V 8.10.2026
0
0
- Nopeasti on tullut, pakkaus ok....Nopeasti on tullut, pakkaus ok.Georgi M 8.10.2026
0
0
- Kjapp levering....Kjapp levering.Arnulf A 8.10.2026

0
0
- Read more(Taas) Nopeasti lähti paketti matkaan ja tuli hyvin pakattuna perille. Vielä ei ole yhteenkään teidän myymään tuotteeseen tarvinut pettyä! ...(Taas) Nopeasti lähti paketti matkaan ja tuli hyvin pakattuna perille. Vielä ei ole yhteenkään teidän myymään tuotteeseen tarvinut pettyä!R A 7.10.2026
0
0
- Super!...Super!Marcin N 7.10.2026
0
0
Easy and Safe Shopping
You can pay for the order safely and easily with Credit Card, Klarna, Paypal, Google Pay or Apple Pay. Shipping costs starts at only 3.90€. We use UPS and GLS for shipping.
Fast Delivery in 3-7 days (DHL/UPS/GLS)
Products in stock are normally shipped out within 1-2 working days. We process orders continuously and orders placed before 13 are normally sent at the same day. The shipment takes usually 3-7 days in Europe.
100% Satisfaction Guarantee
We want you to be 100% satisfied with your purchase. That's why we offer 30 days FREE returns if you are not happy with your product. Safe and carefree shopping at its best!

THE BIGGEST AND CHEAPEST LIGHT STORE IN THE NORDIC COUNTRIES
Lighting fixtures and their associated accessories are in a constant state of evolution - and so is our product selection. Within the VALOSTORE online shop, you will always discover the most cutting-edge auxiliary lights, headlamps, work lights, and handheld flashlights, along with top-tier accessories available in the market. Valostore boasts its very own light measurement laboratory, ensuring that we provide accurate information regarding the actual luminous output and other performance-related metrics of our fixtures. We warmly invite you to explore the VALOSTORE online shop and indulge in a shopping experience like no other!
VALOSTORE.COM
Handshake Finland Oy
VAT: FI23041120
Alasintie 9, 90400 Oulu, Finland
WHAT WE OFFER
- The best brands in the lighting industry
- Satisfaction guarantee
- 30-day free returns
- Safe payment methods
- Fast deliveries
- Free delivery across Europe on orders over 229 €. Free returns on all orders.
- Note: "UPS - Delivery across Europe"