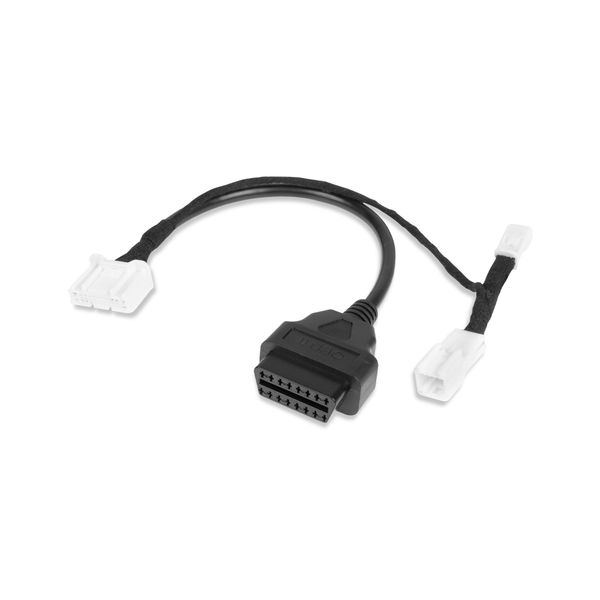
Adapter PURELUX Tesla Model Y Juniper, OBD2 adapter
An adapter that allows you to add an OBD2 port to your Tesla Model Y Juniper car model.
Product Faq
An adapter that allows you to add an OBD2 port to your Tesla Model Y Juniper car model.
OBD2 adapter suitable for Tesla Model Y Juniper, which can be used to add a missing OBD2 port to the car. The adapter is placed between the connectors on the A-pillar on the passenger side (see video on the product page). The adapter does not change the car's own wiring, it only enables reading of the data moving in them. This way, for example, an XBB Dongle can be connected to the car, which can be used to capture the activation data for various additional lights.
If you are interested in installing additional lights, also see the ready-made Tesla Model Y auxiliary light set.
NOTE! You must be very careful during installation and ensure that the car is completely turned off before installation. The shutdown takes about 8-10 minutes, and it is very important to wait this time before disconnecting the connectors, so that all CAN buses, relays, etc. have also turned off. Valostore does not take responsibility if something goes wrong during installation.
Specifications 
- Product: OBD2 adapter Tesla Model Y Juniper
- Purpose: Adding an OBD2 port to a Tesla Model Y Juniper
- Placed between the connectors on the passenger side of the A-pillar (see video)
Quick guide
We recommend disabling Sentry Mode on your vehicle either through the Tesla mobile app or the vehicle's touchscreen (Controls -> Security -> Sentry Mode = Off) before the next step. Turn off the vehicle's main power completely: Open the driver's door window all the way, and close the driver's door. Open the front door of the vehicle fully so that you can plug in the OBD adapter after turning off the power. Turn off the main power by reaching out through the window on the vehicle's touchscreen by going to Controls -> Security -> Power Off, and wait outside the vehicle until the relay "clicks" after approximately 8-10 minutes. Make sure there is no more humming noise from the vehicle before moving on to the next step.
Pry open the rubber seal and remove the protective cover located next to the glove compartment. Then remove one of the clips and lift off the plastic cover. This will reveal an empty connector and a wire with a connector in between. Remove the connector and place the OBD2 adapter between the connectors and into the empty connector. Make sure that all connections are properly made. Close the cover.
Tip: It is a good idea to leave the OBD2 port visible with the cable attached, so you don't always have to open the plastic separately if you want to connect something to the OBD port.